Accept the fact – Gutenberg is one of the most popular and unique page builders available in the market. You can add anything you want with Gutenberg, be it images, videos, text, or buttons; you name it. In this post will focus on the Gutenberg image block, so you can add beautiful images to your site using Gutenberg.
But first, let’s see what Gutenberg editor is and what are the uses of blocks.
Gutenberg Editor and the Concept of Blocks
In 2018, the WordPress 5.0 release came up with a brand new editing experience – the Gutenberg editor. Gutenberg editor allows users to create stunning homepages and landing pages and take their overall design to the next level.
It was one of the major WordPress updates, and the community loved to see the new editor.
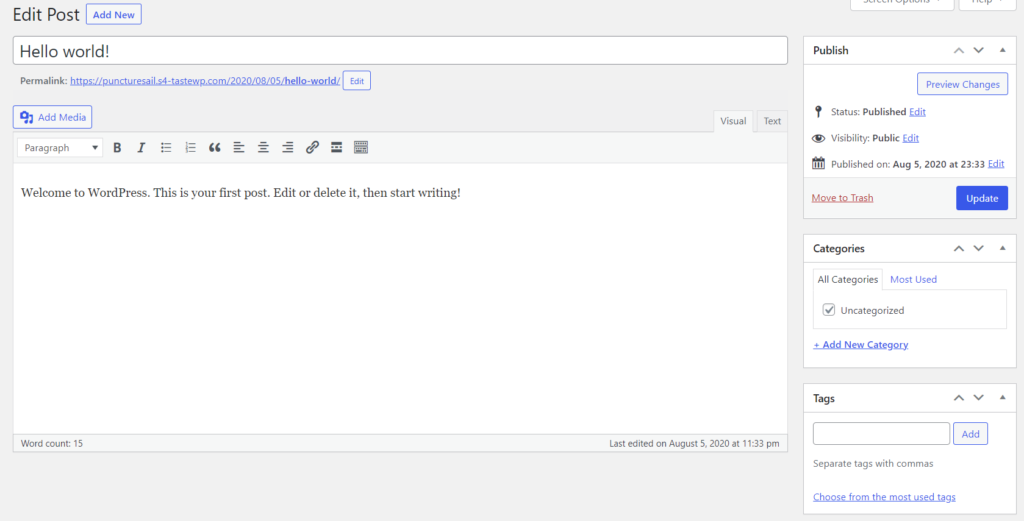
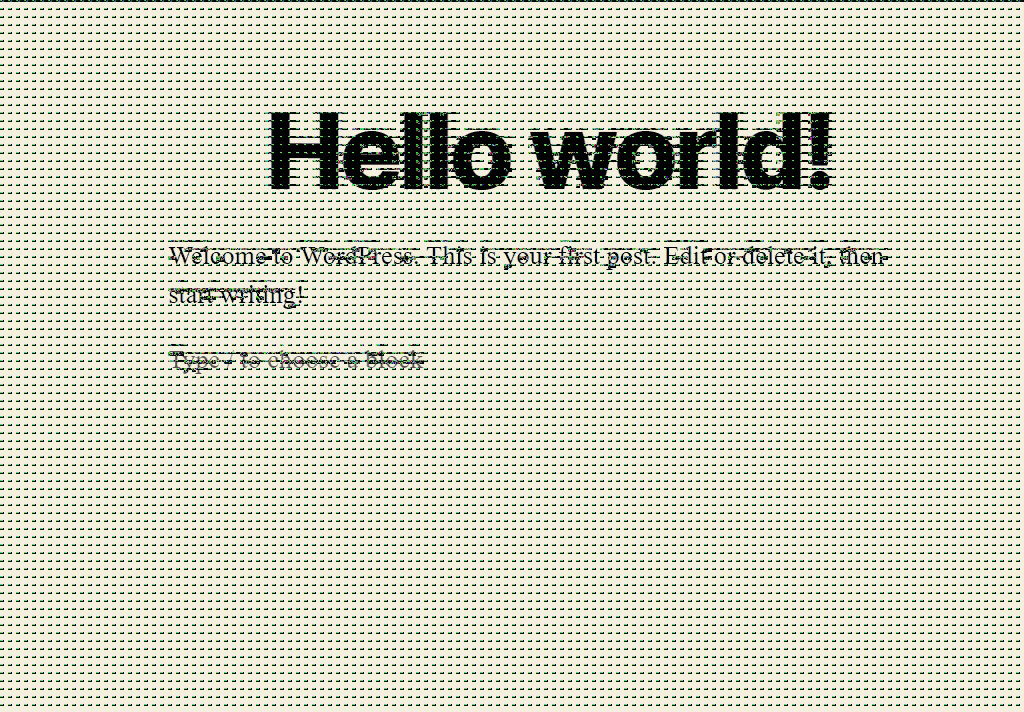
The old classic editor looked pretty outdated and lacked some of the necessary features. Here is a glimpse of what it looks like:
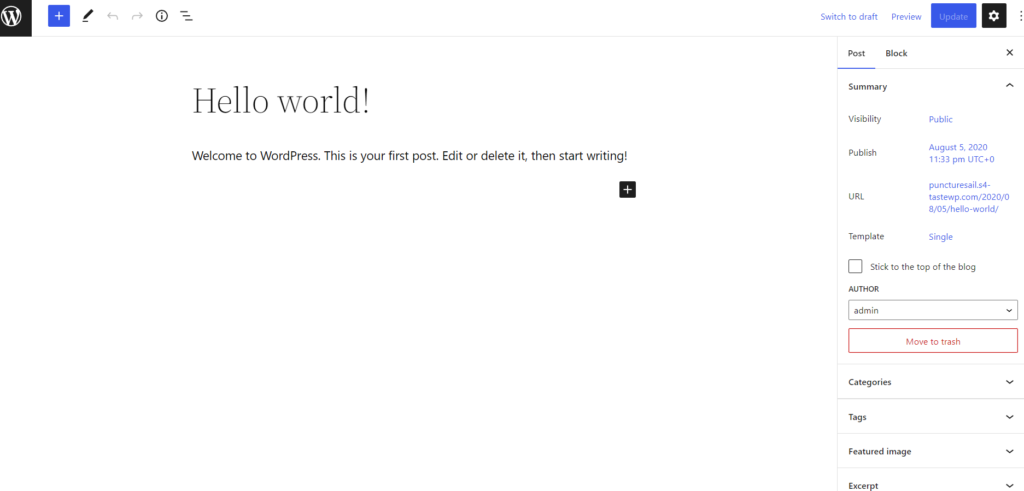
Whereas the new Gutenberg editor looks like this:
The idea is pretty simple. You can create complex layouts and beautiful web pages with minimal effort. However, to make that happen, you need to use dedicated blocks.
For example, you should use an image block to add an image to the Gutenberg editor. The heading and table blocks can be used accordingly to add headings or a table, respectively.
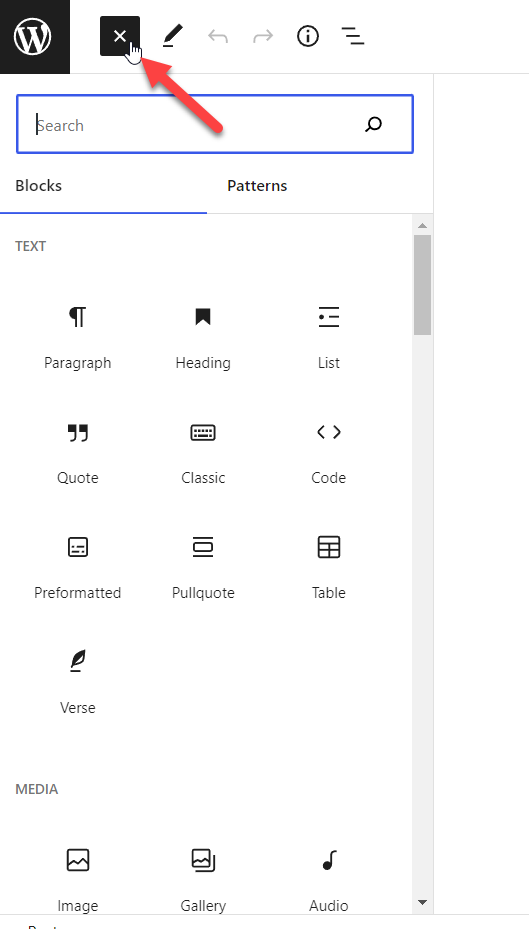
You can see all the blocks by clicking the + button on the top left-hand side.
Blocks are essential to building any website design, and you can customize them the way you want. Once you have added a block to the editor, you can click on it, and it will show you everything that can be modified in the block.
NOTE: You can also hide Gutenberg blocks you are not using to declutter the editor. We have a dedicated guide here to teach you how to hide unwanted Gutenberg blocks.
Alright.
Now, you know about the Gutenberg editor and blocks. In the next section, we will go through the Gutenberg image block and learn more about it.
The Gutenberg Image Block
As we mentioned earlier, blocks are used in Gutenberg to add new content to the post, page, or custom post type.
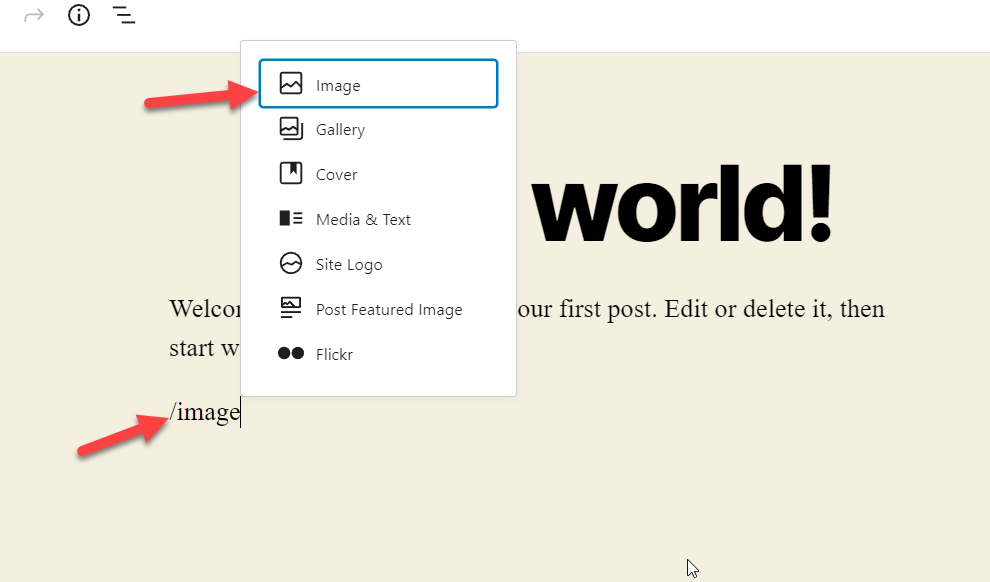
The Gutenberg image block is used to add images to the post. You mainly have two options if you need to add the image block to your post.
- Using the + button
- Or using /image command
If you check the top left-hand side of the Gutenberg editor, you will see a + button.
You can click on it and choose the image block.
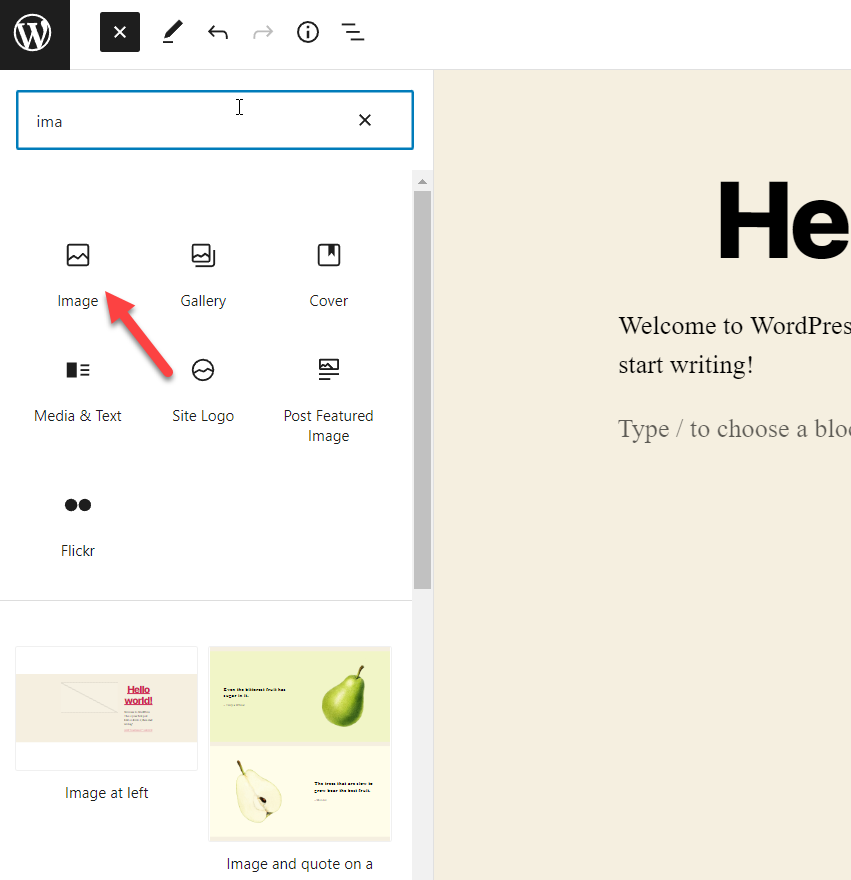
And once you have selected the image block, it will be added to the editor.
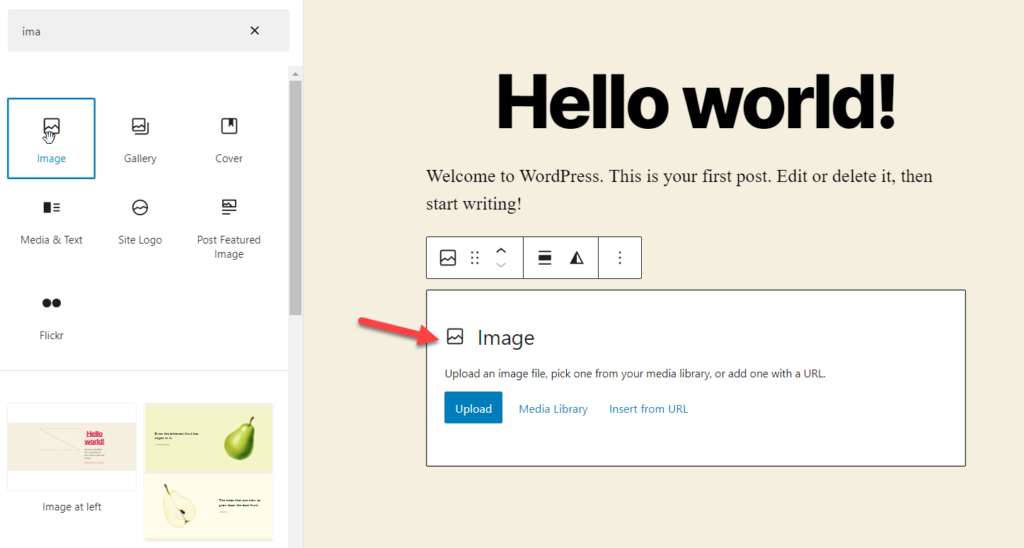
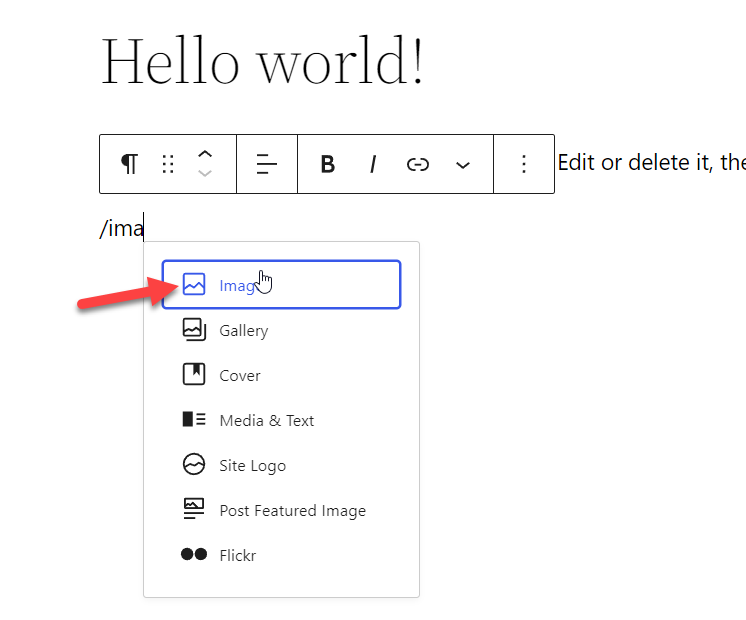
Alternatively, you can type the /image command to add the image block to the editor.
Once you have added the image block, you can upload or display an image from the media library.
Why Add Images to Your Website?
Adding images to your website will help you in multiple ways. Some of the benefits are listed below.
- Better SEO
- Entertaining
- Good Way to Break Up Your Content
- More Conversions
Let’s see what each has to offer.
Better SEO: By adding images to your blog post and adding related ALT tags, you can rank the image higher on Google searches. For example, let’s see an example from our sister website QuadLayers.
We have created a detailed guide on the Divi contact form not working. Our post ranked on page #1 on Google search results.
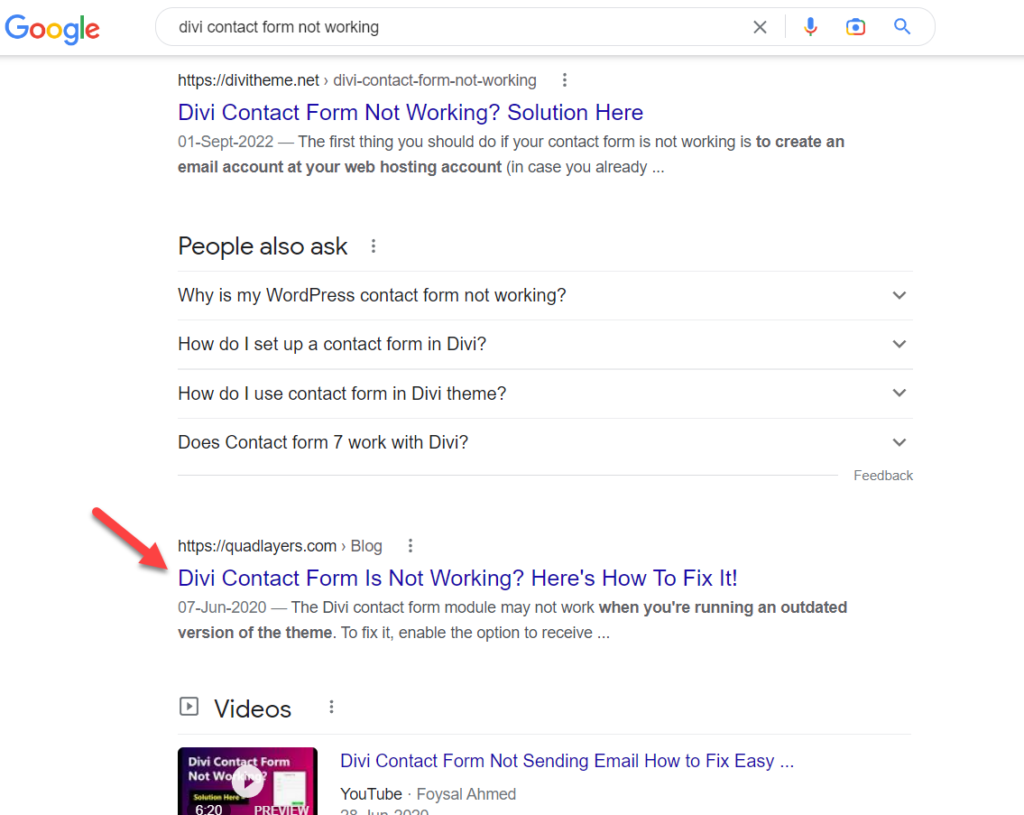
But also, our images got ranked on Google image search.
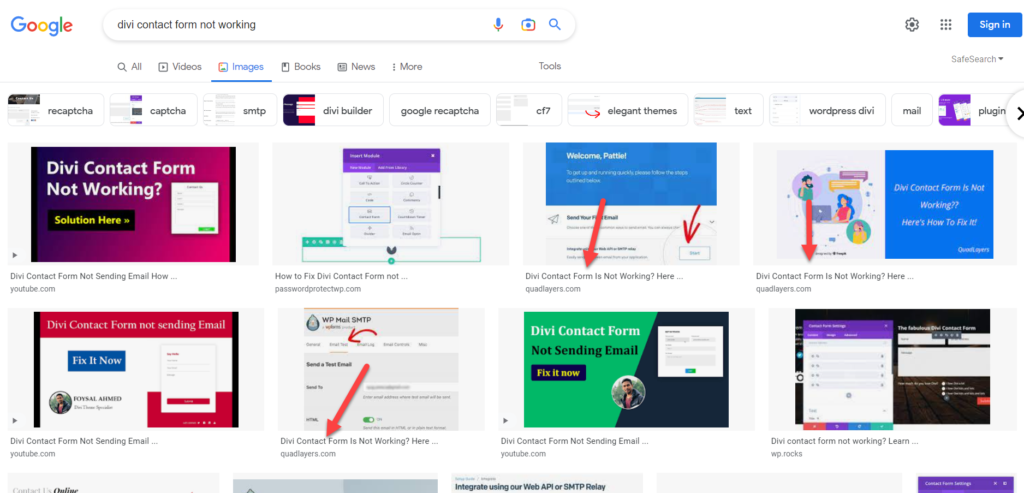
This is bringing us more traffic to the website. So, adding images to the blog post and optimizing it will give more website visitors.
Entertaining: Adding images to the content can be fun. Adding pictures or GIFs according to the situation is a great way to engage your readers. This will help you in reducing the bounce rate.
Good Way to Break Up Content: Adding too many paragraphs to the article won’t be something most people love. Instead, you can use headings, lists, or even images to break this. Whenever you feel the content is going too long, add a photo!
Better Conversions: Adding images at CTA can bring you more conversions. Also, if you are running an online shop with WooCommerce, adding product images to the WooCommerce gallery will help you get more conversions. Also, adding product images will boost the affiliate’s revenue if you review a product.
Now you know the importance of images. Next, let’s see the top methods to add pictures in the Gutenberg editor.
How to Add Images in Gutenberg
To add images in Gutenberg, we have four major methods.
- Using the Drag and Drop Feature of Image Block
- Uploading images through the Image Block
- Uploading images through Media Library, then Embedding it inside the Image Block
- Dragging and Dropping Images to the editor
All these methods are straightforward, and we will show you how it’s done.
1) Drag and Drop Images to Gutenberg Image Block
This is the best option when you are writing content and need to add images on the go. First, ensure that you have the image ready. Now, open the editor and add the image block to the post, page, or wherever you need to use the picture.
Now, a small box will appear like this:

You do not need to choose any of the options from there. All you need to do is drag your media file and drop it inside the block.
This way, you can insert images into your post. As you can see, this is one of the easiest methods available. When you are writing an article, this method would be preferred.
2) Upload It Directly
In the last section, we have shown you how to add the image by dragging and dropping it inside the image block. This time, we will show you how you can upload it directly through the local storage.
Once you have added the image block, you must choose the Upload option.
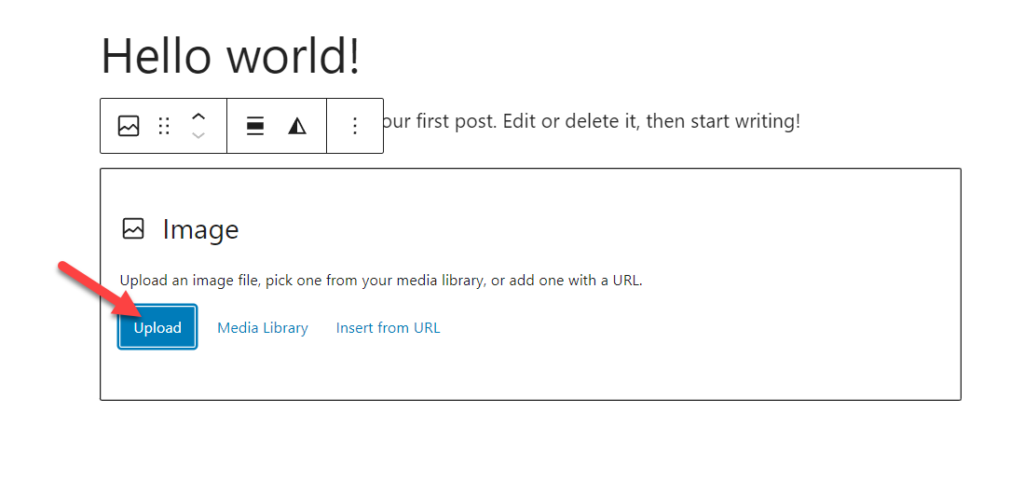
Then, your local storage will pop up, and you can select the image you need to upload. Simply double-clicking the image will be good enough.
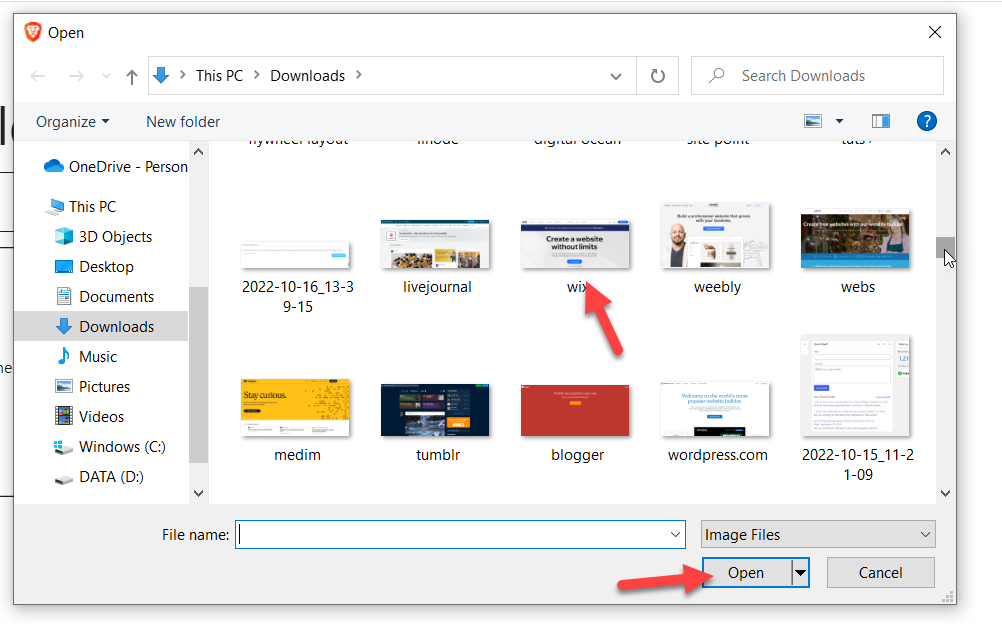
Then the image will be added to the article.
This way, you can add images to the blog post or page.
3) Media Library Method
This is the third method to add an image to your WordPress website. The process is similar to the ways we mentioned above.
You will see the Media > Library option on the left-hand side of the WordPress admin dashboard. You will see all the media present in your library.
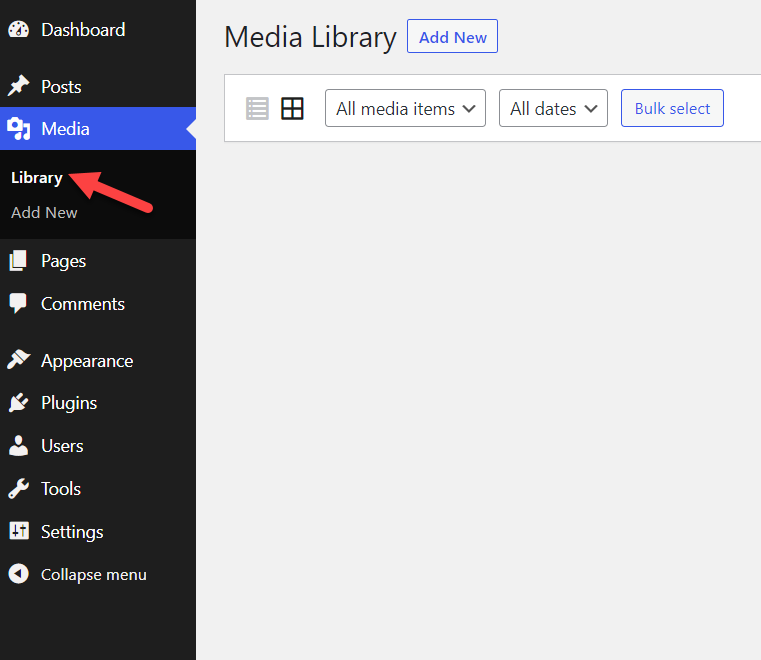
To add new media files, click on Add New.
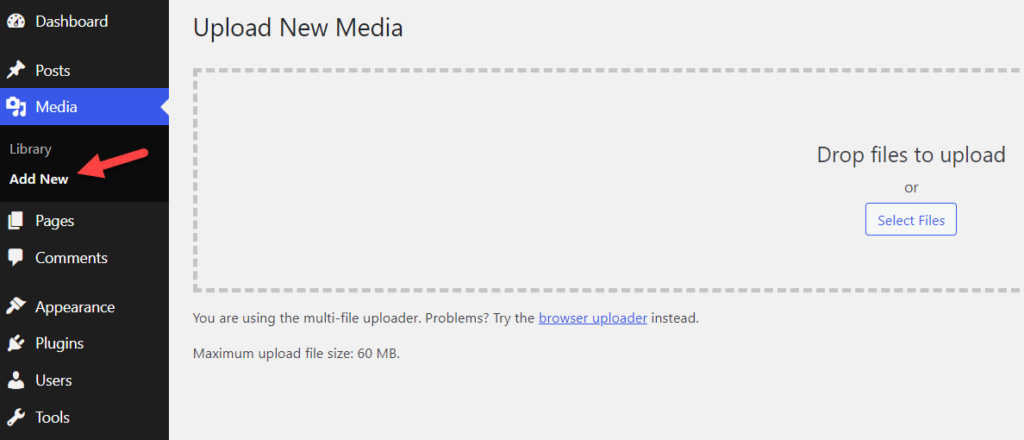
From this page, you can add new media to your WordPress website. You can drag and drop any images or choose from your local storage. In this case, we have dropped an image from the computer to the library. The web server will take some time to upload the image according to the size of the image and your internet speed).
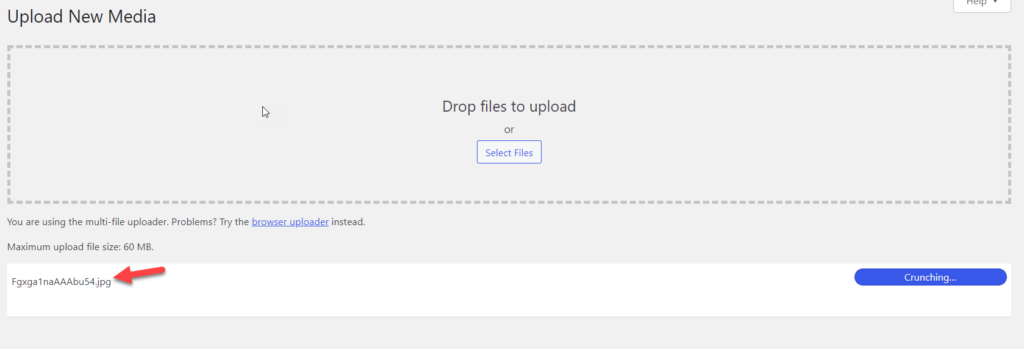
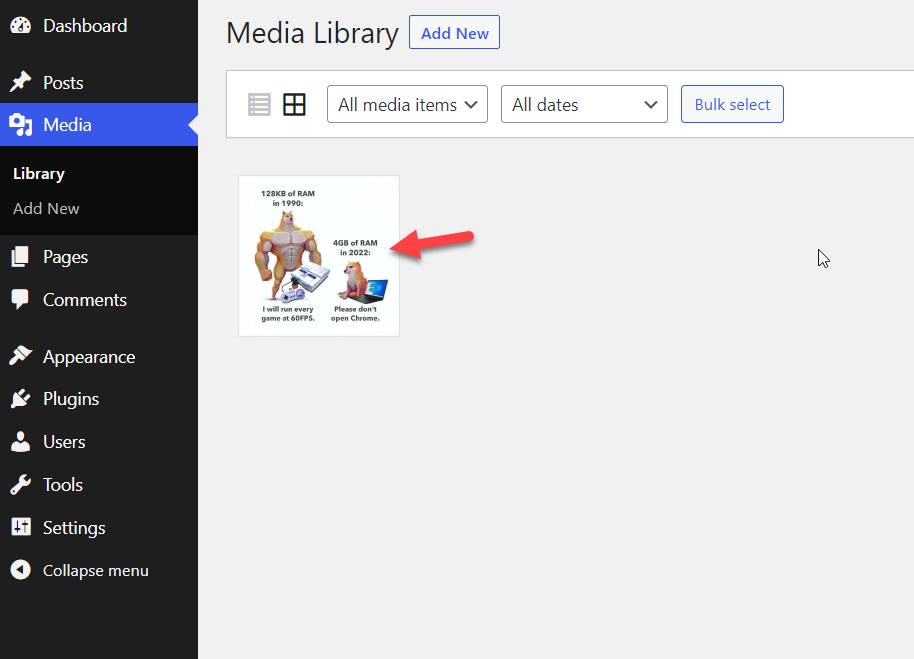
Once the server completes the upload, you will see the image inside the media library.
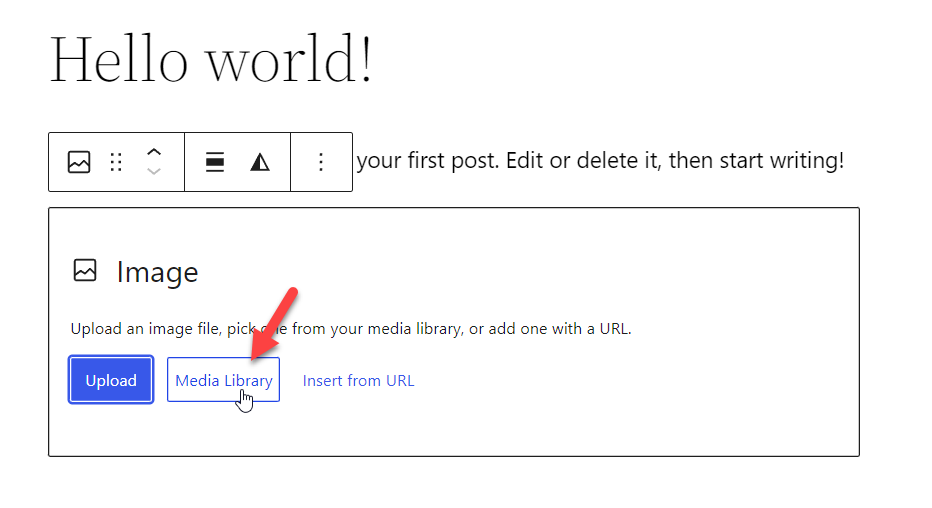
Now, open the post where you need to insert the image. For instance, we will edit one of the sample blog posts. Inside the editor, add the image block using the/image command.
Then, choose the Media Library option.
You will see all the available media inside the box.
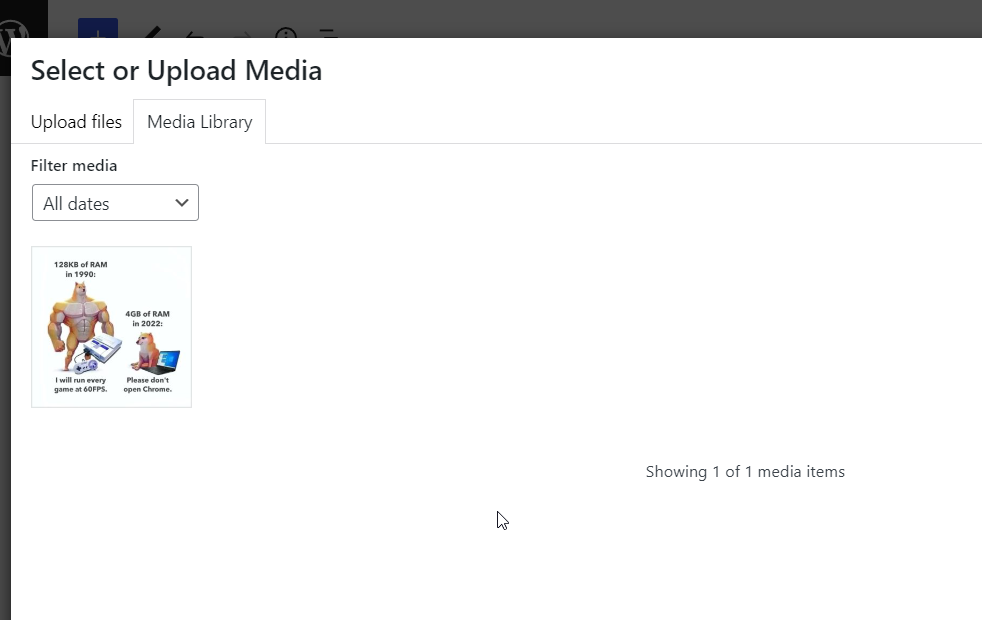
You can select the media you need to insert to the page and add it.
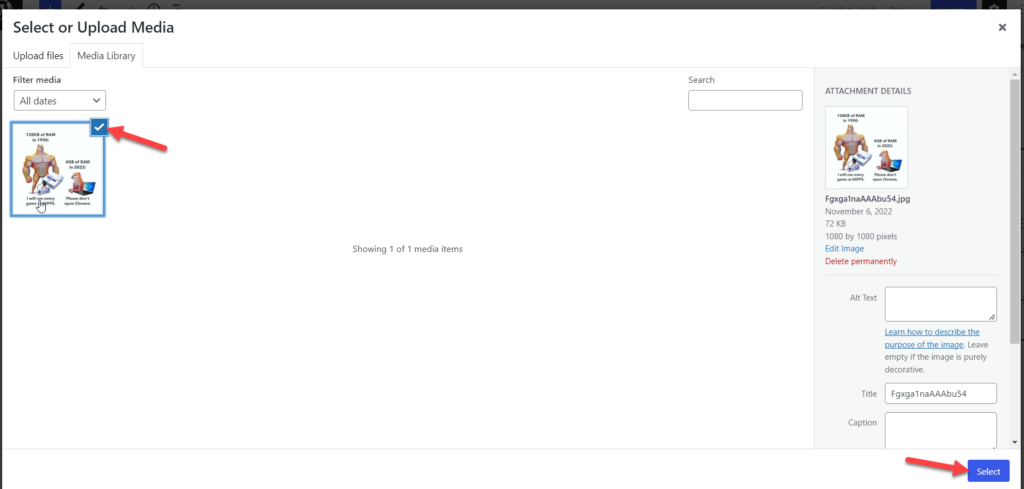
Now, you will see the image inside the post.

That’s it!
4) Dragging and Dropping Images
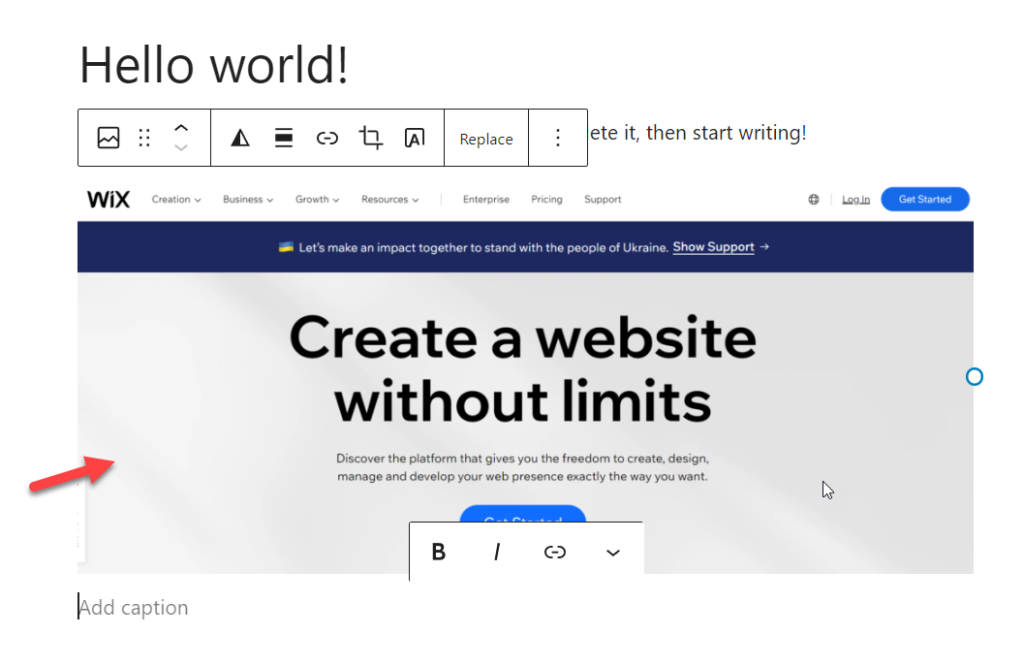
This method is even more straightforward. You do not need to add extra blocks or images through the media library. Instead, you can easily drag the image you need to upload and drop it inside the editor.
An example is below:
According to your image’s size, it will take a few seconds. Once you have added the photo, you can start customizing the captions.
This way, you can add images to Gutenberg.
However, once you have inserted an image into any of your pages or post, you can do more with it. Below, we will show you how to customize the photos through the Gutenberg editor.
Customize Images with Gutenberg Image Block
Once you have added an image to your post, you can customize it however you like. For example, you might want to add some captions or links to the image, apply a filter, etc. The main customization options you can do with the Gutenberg image block are listed below.
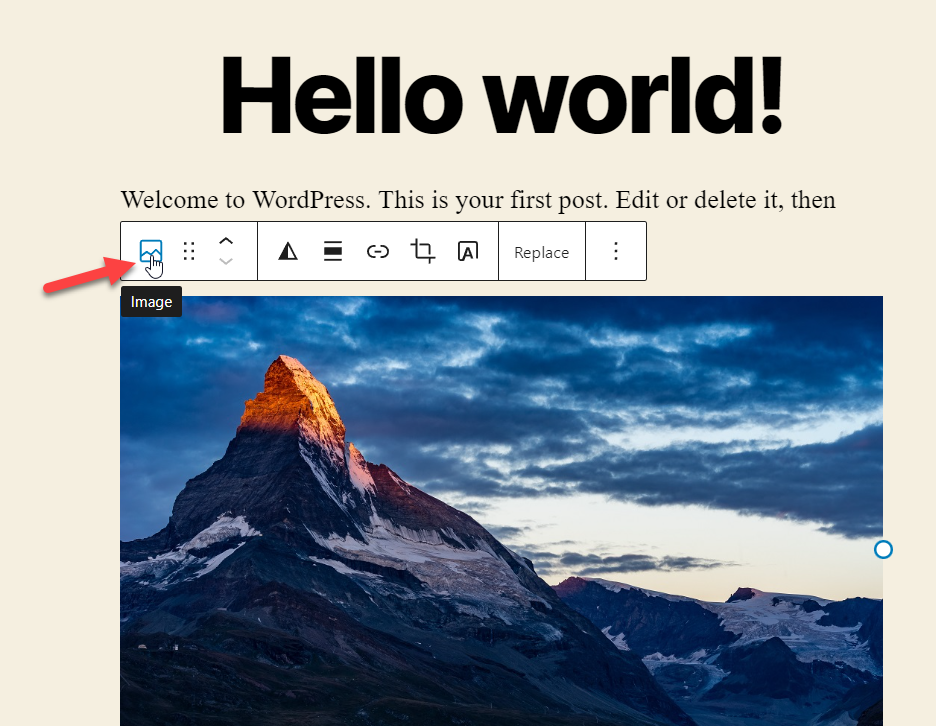
Via Image Block Toolbar
After adding the Gutenberg image block, you will notice some customization options on top of it.
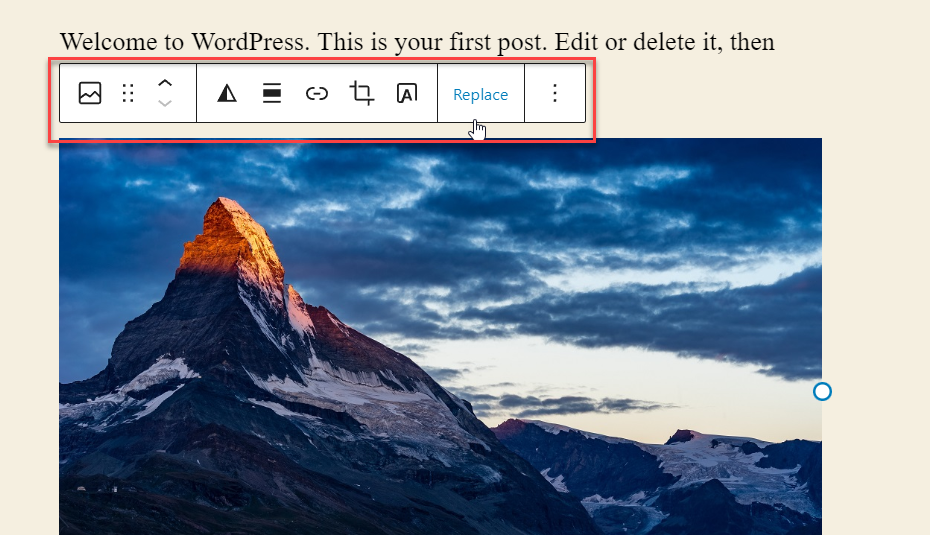
The setting available are:
- Drag
- Move Up
- Move Down
- Apply Dualtone Filter
- Alignment
- Insert Link
- Crop
- Add Text Over the Image
- Replace
Apart from that, you can also click the three dots section to explore more configuration options.
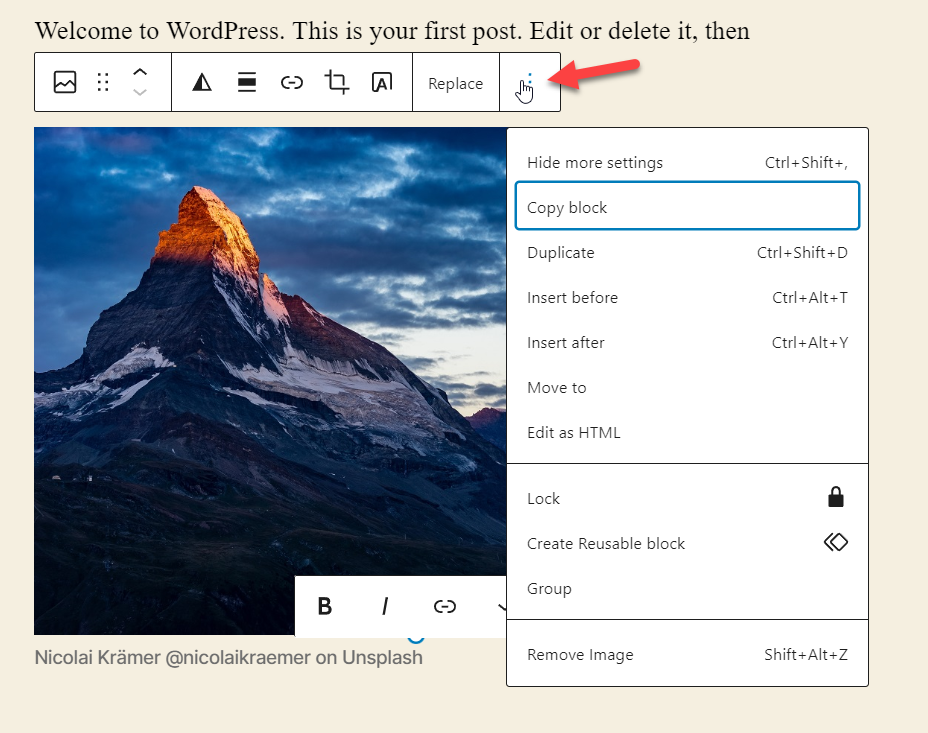
You can modify the image according to your preference right from there.
Via Image Block Settings Panel
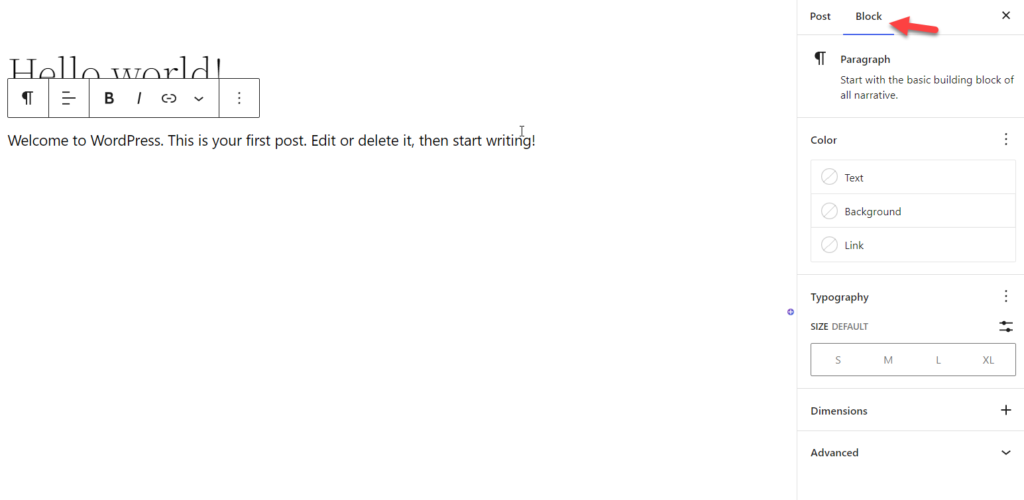
Apart from the block settings inside the editor, an image configuration is also available on the screen’s right-hand side. It is called Block Settings.
If you select the image block, you will find the Block Settings panel toward the right-hand side of the screen.
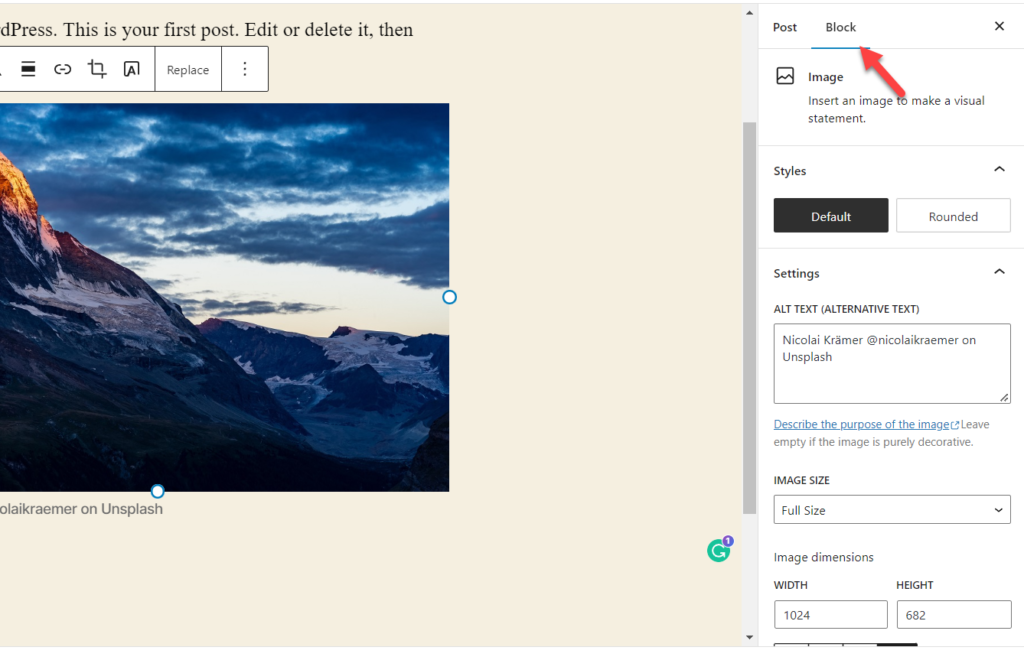
You can update the following:
- Styles
- ALT Text
- Image Size
- Dimensions
And so on.
You can also mention a custom HTML anchor, CSS class, and title attribute from the advanced settings.
Resize an image
Resizing an image can be very useful on so many occasions. For example, if you need to display an image on the left-hand side of the blog but keep writing the article, reducing the image size to 250*250 would be nice.
To help you with that, you can use the Block Settings available on the right-hand side to modify the image size.
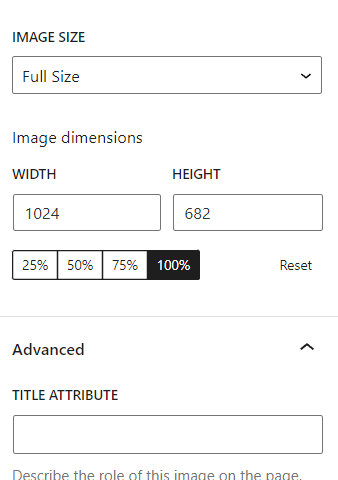
However, the themes come with pre-defined image sizes so that you can choose any pre-defined ones from the dropdown.
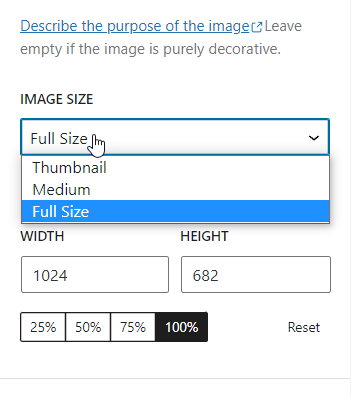
Or, if you need to add a custom width and height to the image, you can do so as well.
The best thing about the Gutenberg editor is that it will always display real-time updates. This way, you can see exactly what you are building.
This method allows you to resize any images you have added to a post or page.
Add Captions to an image
Captions are an easy way to inform about an image. Adding them will help the visitor understand the purpose or context of the image. This section will show you how to add captions to an image.
Once you have added an image to the editor, you will see a space for adding captions.
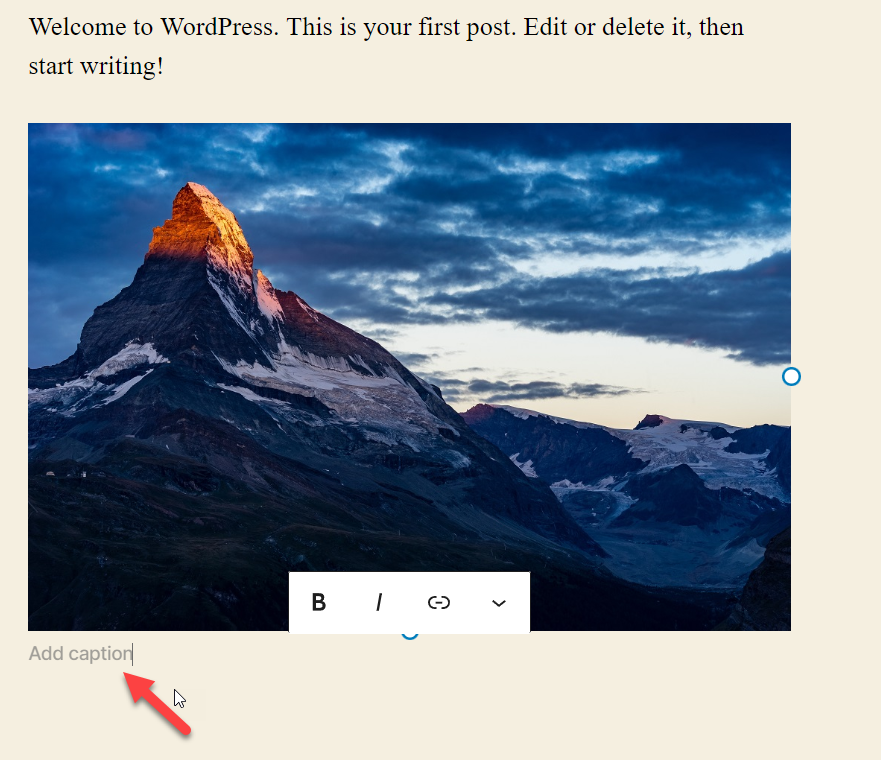
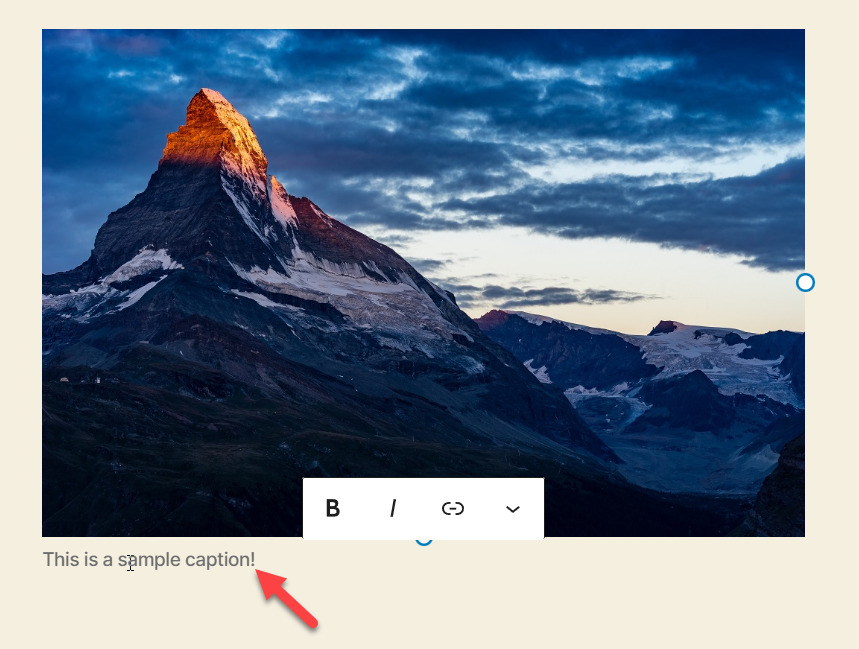
You can add the caption there. In this example, we have added a sample caption and updated the post.
You will see the caption below the image if you check the article from the front end.
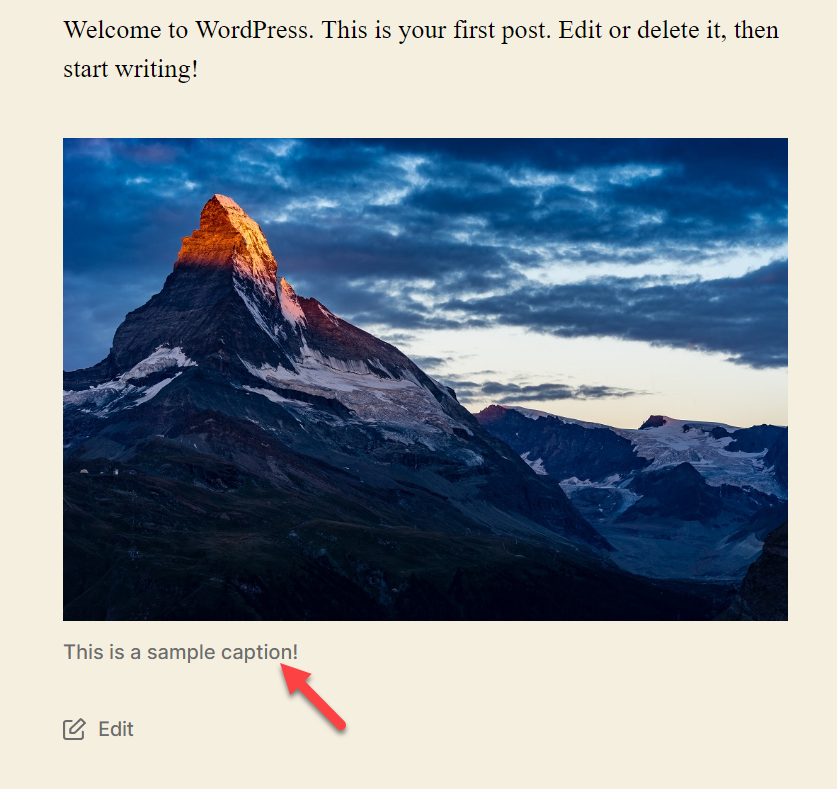
That’s it!
Convert Image Block to Gallery Block
You can always convert blocks to another. For example, if you have added a paragraph block and need to make it into a heading, you can use the transform feature.
Likewise, once you have selected the image block, use the Transform option available in the toolbar.
From there, you can turn the image block into an image gallery block or anything you like.
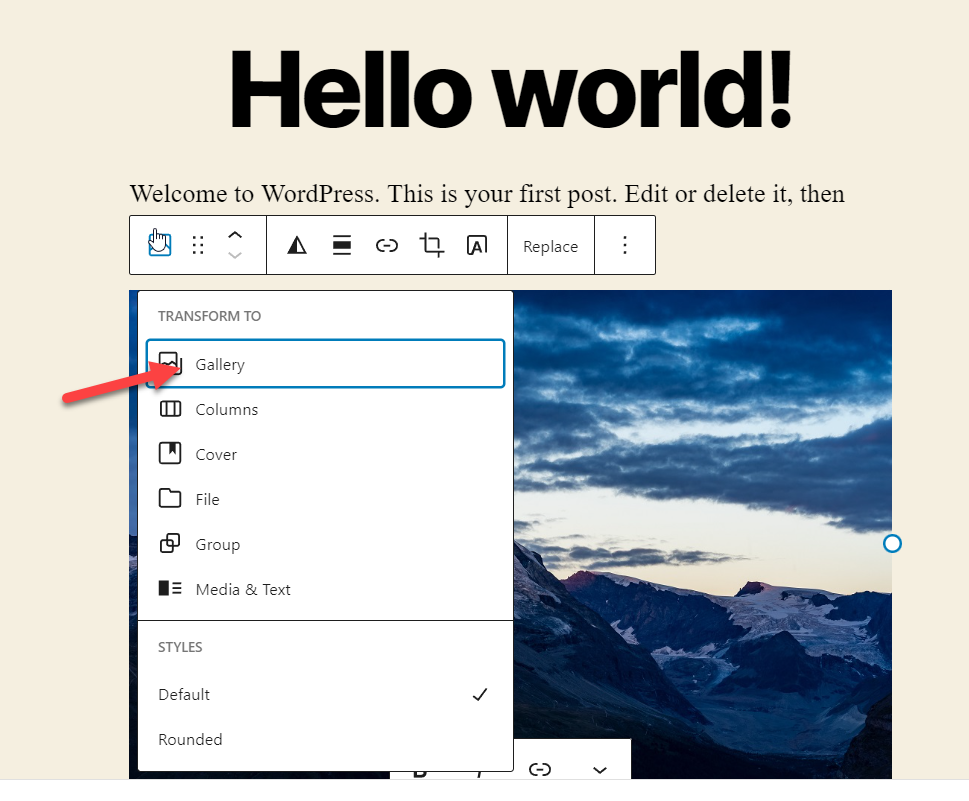
Once you click the gallery button, the image block will be converted to a gallery block.
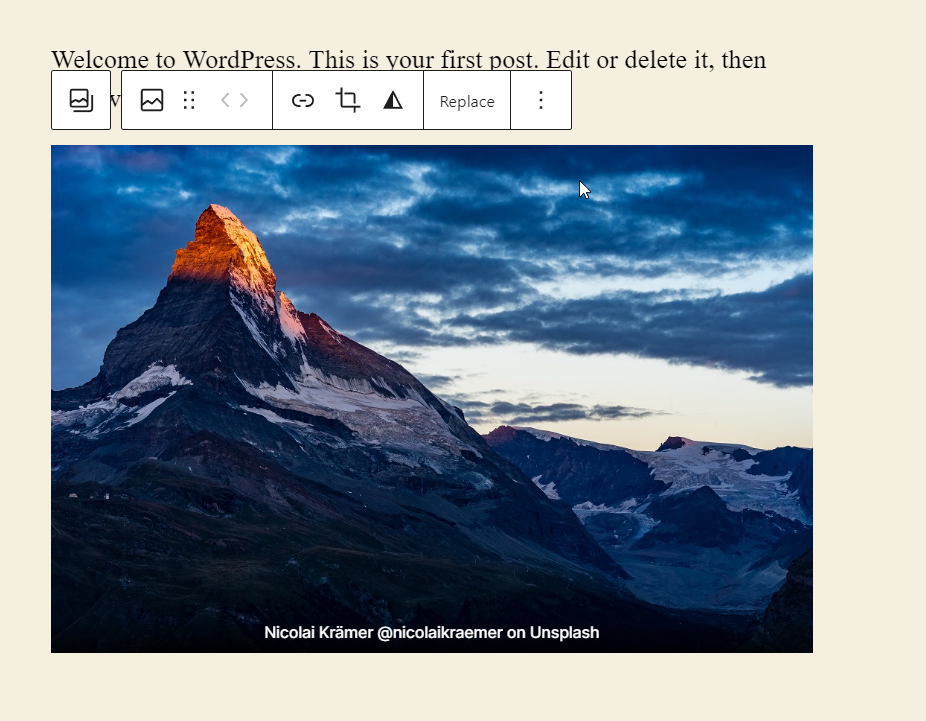
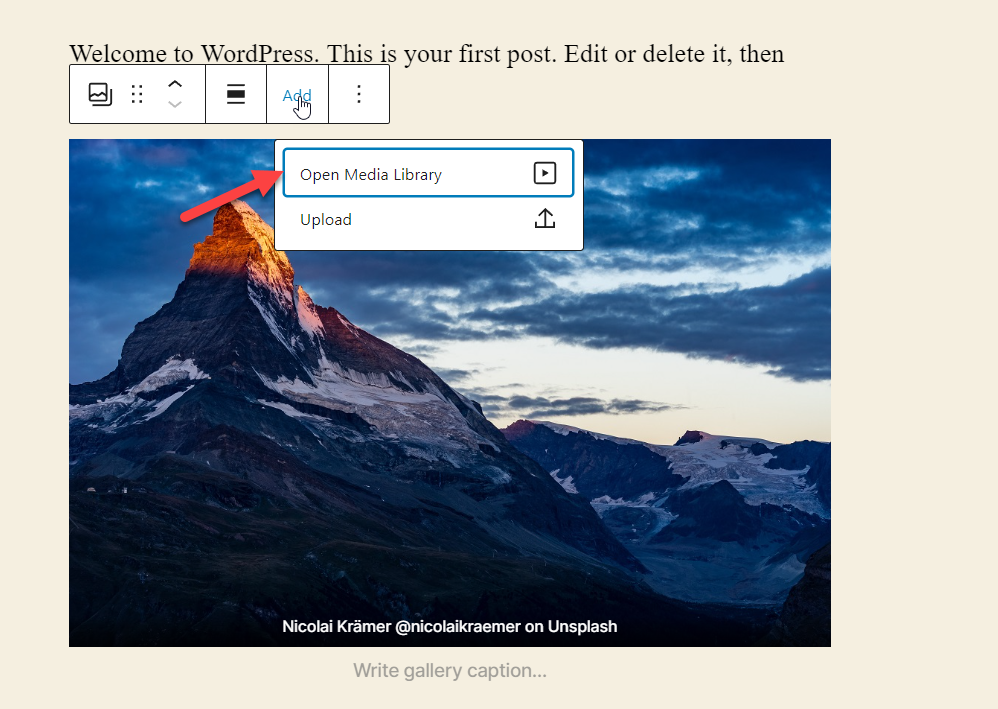
You can always add new media to the block and create a beautiful image gallery.
That’s it.
This way, you can turn the image block into a gallery block.
Revert to Image Block from Gallery Block
Now, for some reason, if you need to revert back to the image block, just click on the transform button again, and select the image block. And that’s it. Your gallery block will be converted back to an image block.
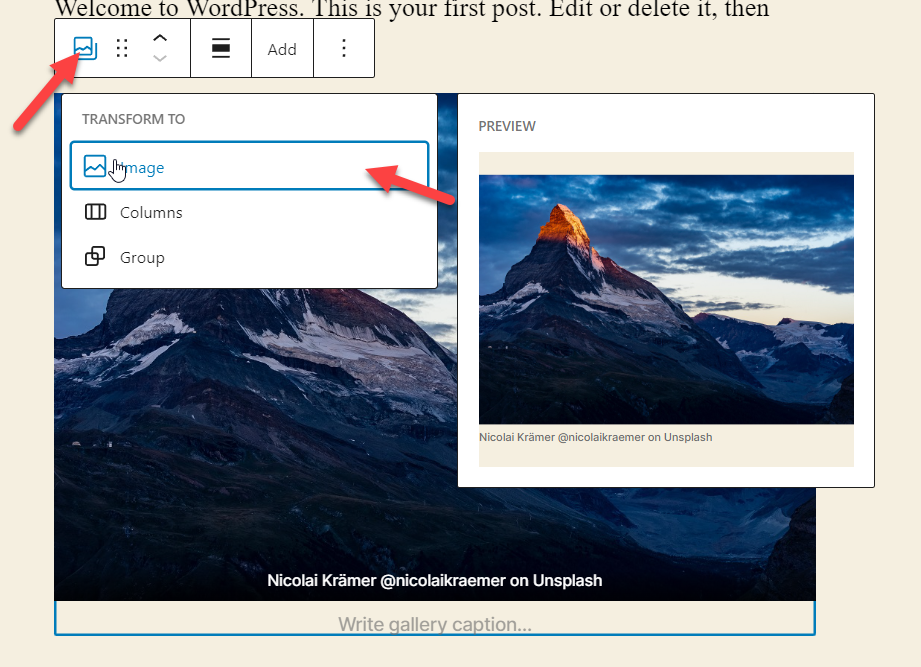
This is how you can turn your image block into a gallery block and revert back.
Conclusion
Images are very crucial for any website. If you are running a blog or handling a website, you probably know the importance of images. It will help the visitors understand more about a specific product or the story you want to share.
The Gutenberg image block allows you to insert an image into your WordPress page or custom post type.
The Gutenberg image block comes with a lot of additional customizations. You can modify every inch of your image with the available options.
We hope you have found this article helpful and learned more about the Gutenberg image block. Please share it with your friends and fellow bloggers on social media. For more helpful articles, you should check our blog.
Here are a few more posts that you might be interested in:
