Gutenberg can do magic with the images uploaded to the website. It can do multiple things to make your pictures better. And this time, we have come up with something you will love. This post will show you everything you need to know about the Gutenberg image gallery block so you can create beautiful image galleries in Gutenberg.
But let’s start with Gutenberg blocks and also try to understand why we add image galleries to our websites.
What Are Gutenberg Blocks?
Gutenberg blocks are interactive and editable content blocks that users can use to build their websites in a better way. In 2018, WordPress 5.0 came up with a brand new editor – Gutenberg.
Gutenberg introduces a unique way to build custom landing pages and home pages without using any third-party page builders. Instead, blocks are the fundamental elements that the Gutenberg editor relies on to display specific content.
For example, if you need to add a paragraph to a page or post, you will use the paragraph block. Similarly, you might want to use the image and heading blocks to add images and headings to the content.
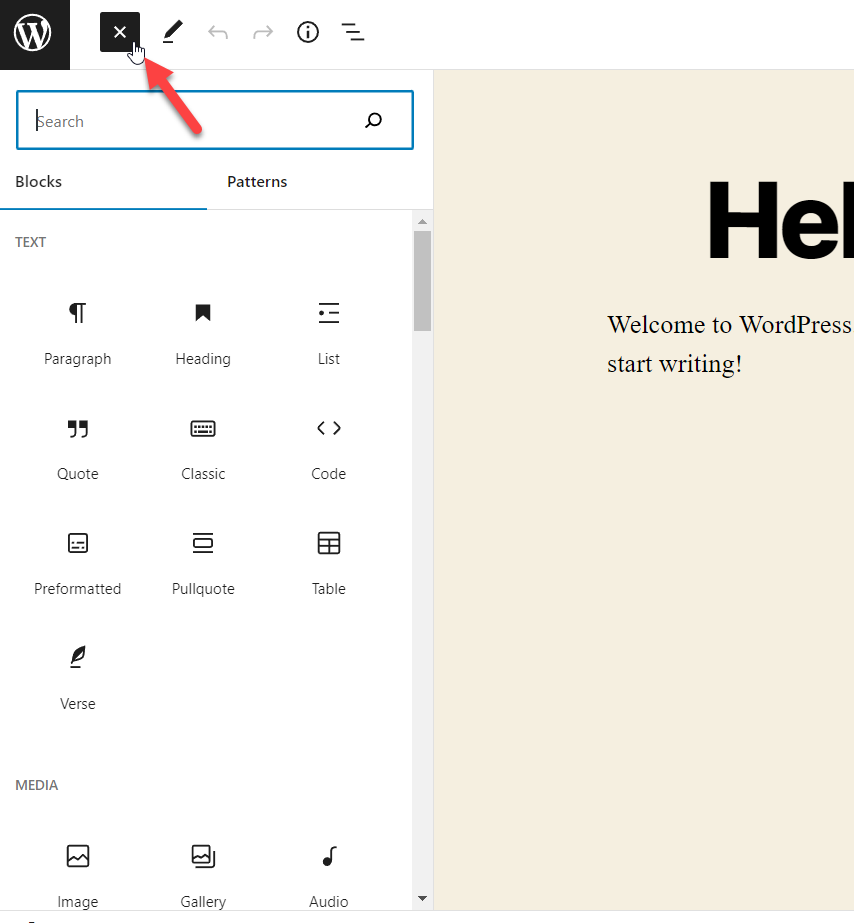
You can see a list of all the available blocks inside the editor. Just open the Gutenberg editor and check the top left-hand side. There will be a button with a (+) icon. You can click on it to see all the available functional blocks.
On the other hand, if you need to add blocks on the go, you can use the /command syntax. For example, to add an image to the content, you can use /image. Likewise, to add a heading, use the /heading command.
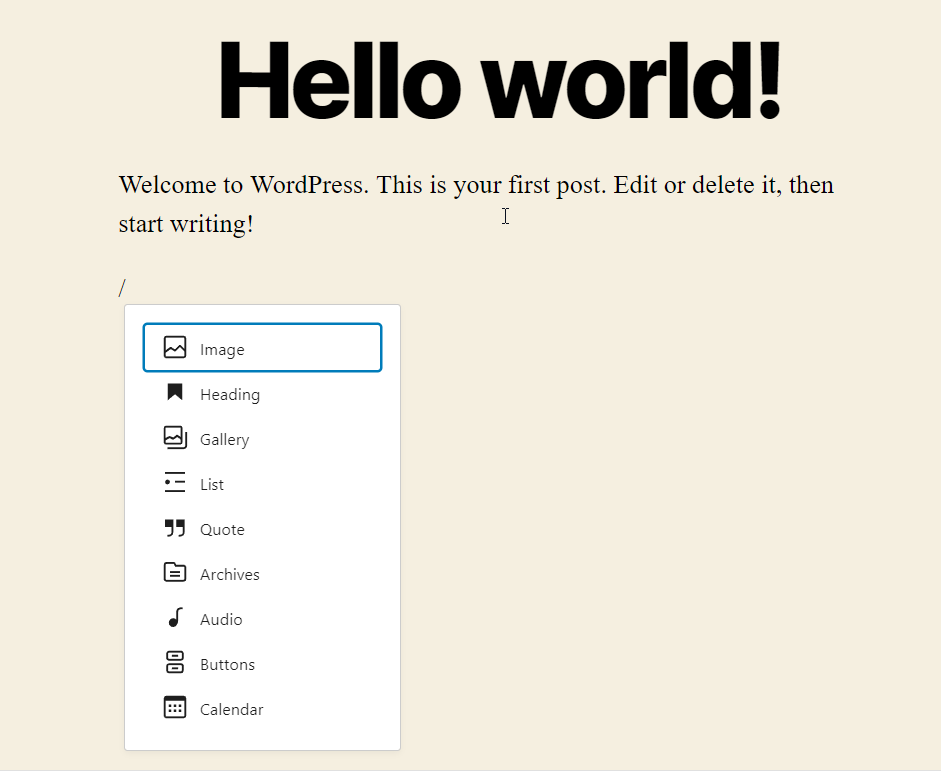
Alternatively, you can just type the /, and it will reveal a list of the commonly used blocks. You can now select a block from the list if that is what you are after.
This way, you can use blocks inside the editor.
On top of that, you can also hide custom Gutenberg blocks based on your preferences. If you want to hide some blocks to declutter your editor, we have a step-by-step guide on hiding unwanted Gutenberg blocks for your help.
Gutenberg Image Gallery Block
As the name suggests, the Gutenberg image gallery block is the block you can use to add a set of photos to your page as a gallery. It is straightforward to use and customize. The Gutenberg gallery block comes with some exciting configuration options you can explore. Plus, you can also add any amount of images to your gallery.
There will be no limits.
Gutenberg gallery block is the best way to create an image gallery for your WordPress website without using extra tools or services.
Why Add an Image Gallery to Your Website
Image galleries can be helpful on most occasions.
For example, if you are running a personal blog and share some of your moments in life, adding a gallery instead of embedding individual images would be great. There are a lot of people who are using image galleries to share their life stories.
Plus, travel blogs can also use the Gutenberg image gallery block. Since travel blogs cover tourist destinations, combining all the attractions inside one gallery will help you reduce the article’s length. This way, the visitors can also see all their tourist destinations in one place.
Likewise, there are multiple other scenarios where you want to add an image gallery to your site. So, without further ado, let’s see how to create a beautiful image gallery in Gutenberg.
How to Create an Image Gallery in Gutenberg
To create an image gallery in Gutenberg, we have got multiple methods. These include:
- Drag and Drop Images to the editor
- Using Media Library
- Upload Images to WordPress
We will show you all three methods below. From there, you can choose your preferred way.
1) Drag and Drop Images to the Editor
This is the best option if you are writing an article and need to add a gallery to it on the go. For example, if you have a group of photos in your local storage, you can directly add them to the editor and create a gallery instantly.
This section will show you how it’s done.
First, open the editor and start a new paragraph. Then, select the images from your local storage, drag them, and drop them inside the editor. Here is an example:
This is the most efficient and easy way to add a gallery to the Gutenberg editor. As you can see, this method won’t take much time and effort.
On top of that, all the images you have added are entirely customizable.
2) Using Media Library
This method will allow you to select multiple images from your media library to create a gallery. This is useful if you already have images in your media library and just want to use them to create the image gallery. This section will show you how you can achieve it.
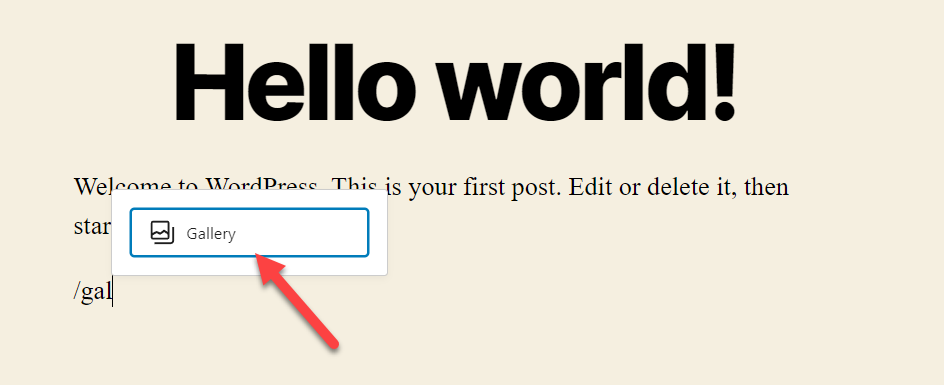
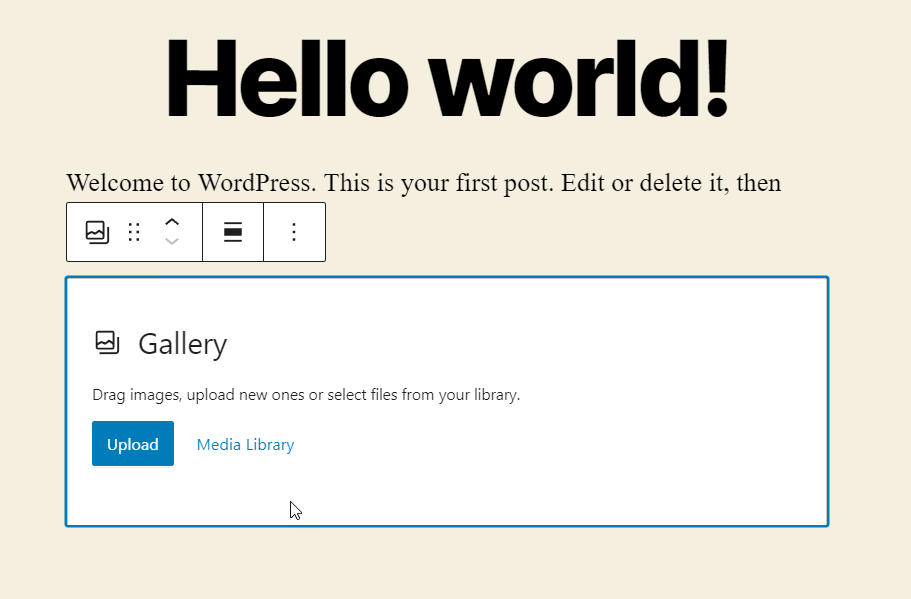
The first thing you need to do is, add a gallery block to the editor. To do this, you can choose the /gallery command.
Once you have added the gallery block, you will see a page like this:
Next, you chose the second option available there – Media Library.
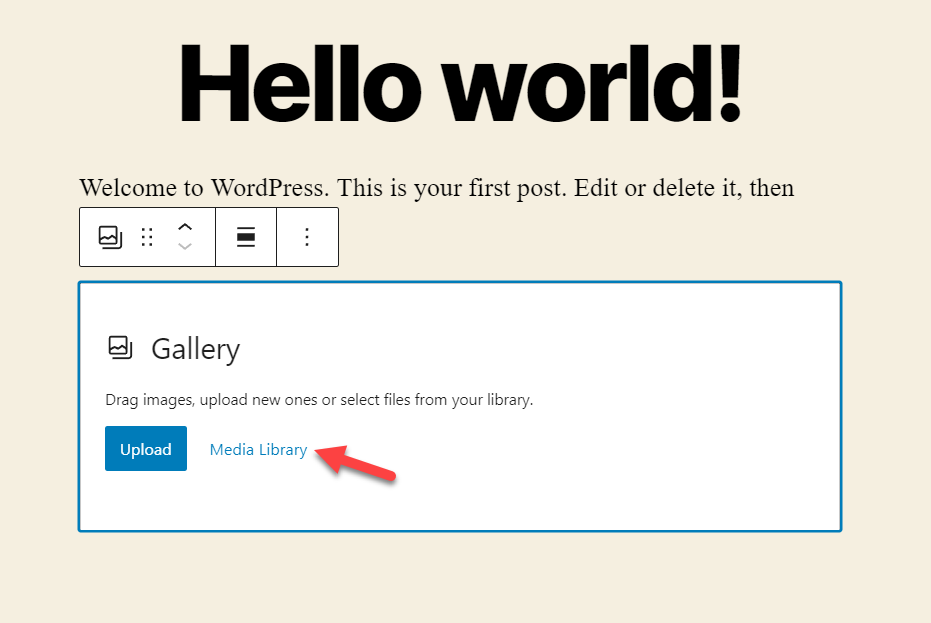
After selecting it, WordPress will open your media library.
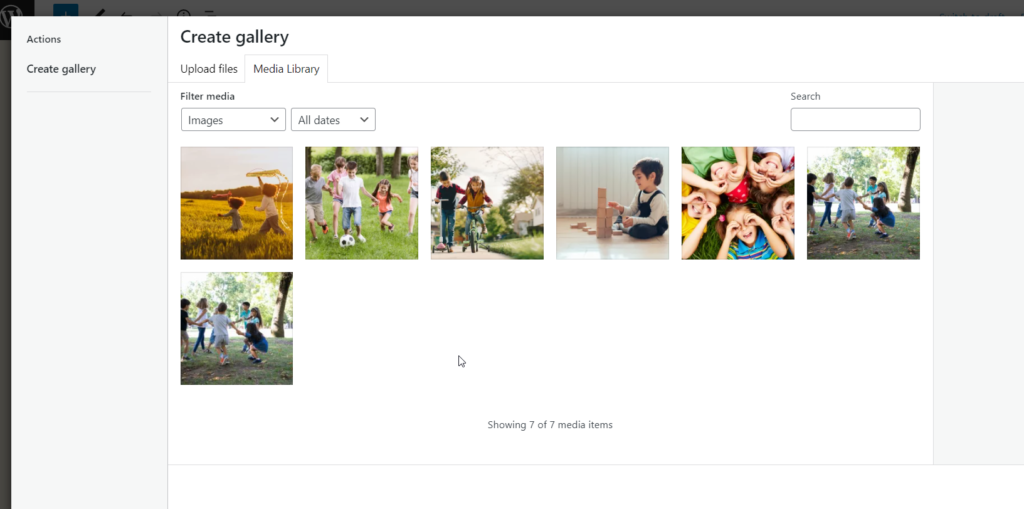
There, you will see all the media items. Then, you can pick the images you need to display in the gallery. Clicking on images will select them. If you need to remove any photos from the selection, use the ( – ) button.
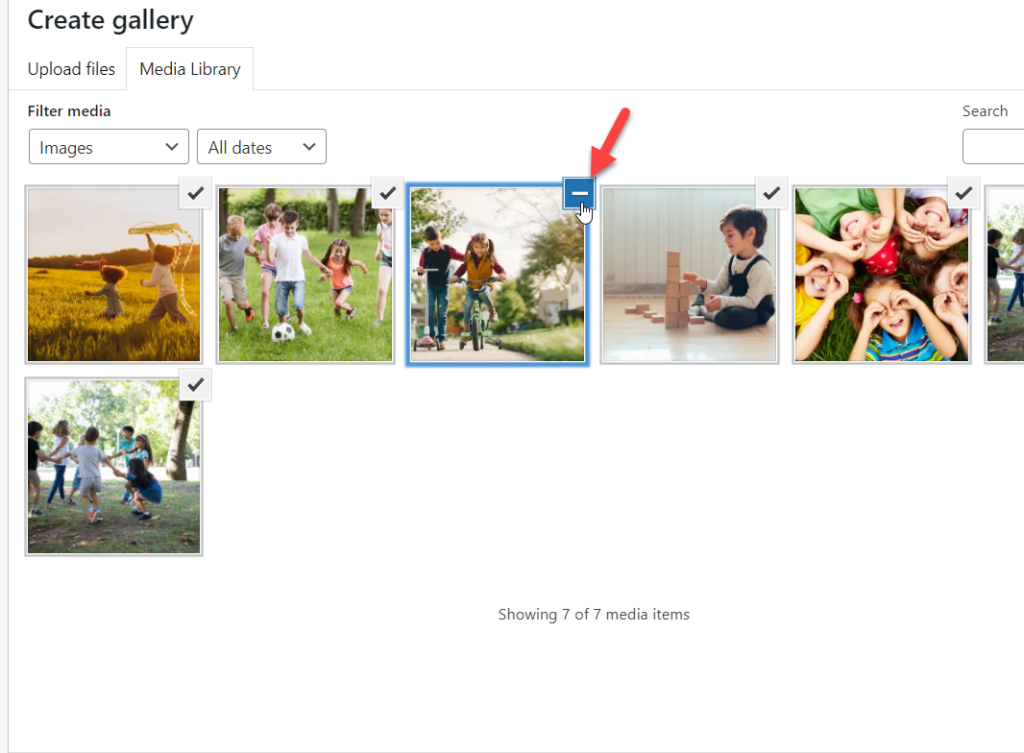
On the other hand, if you need to remove every image from the selection, use the clear button.
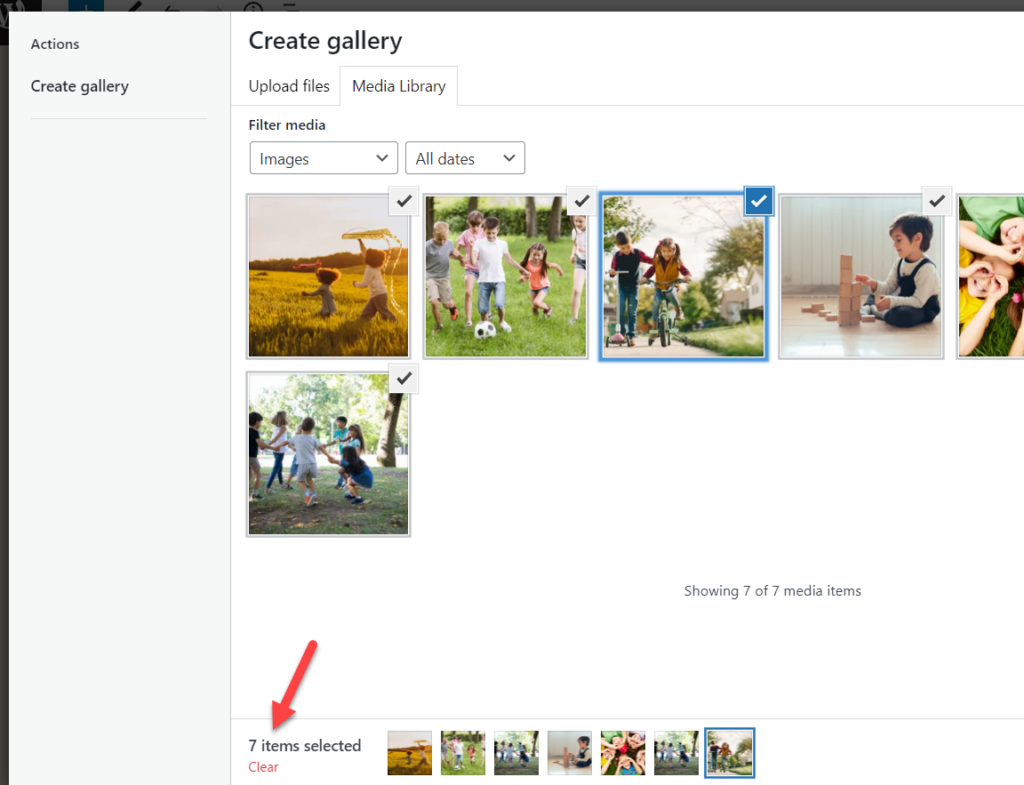
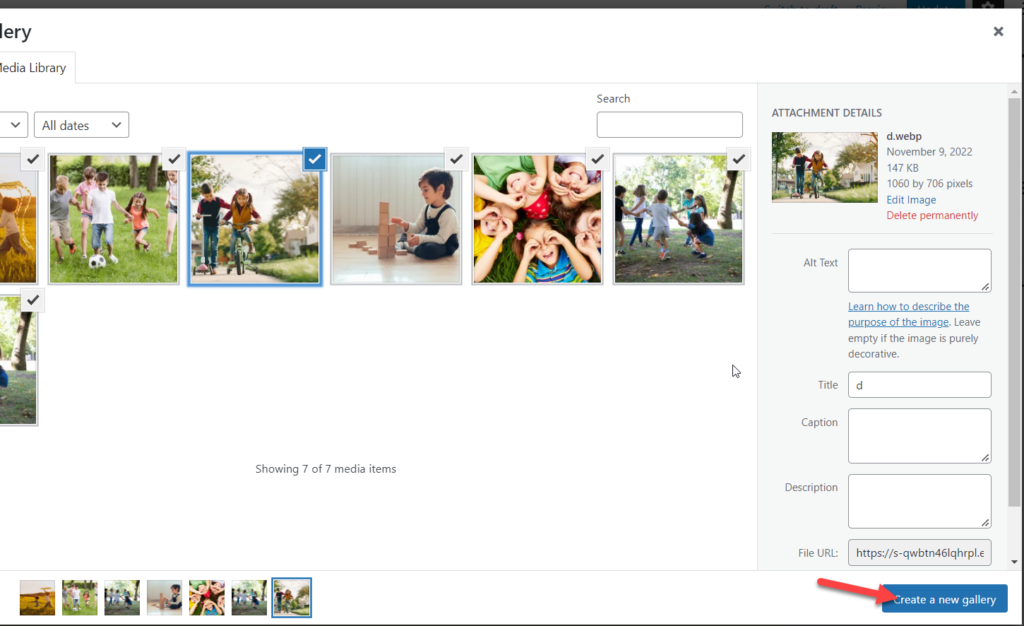
After selecting the images, click on Create a New Gallery. This will create an image gallery from your selected images. Next, we need to insert the gallery into a page or post.
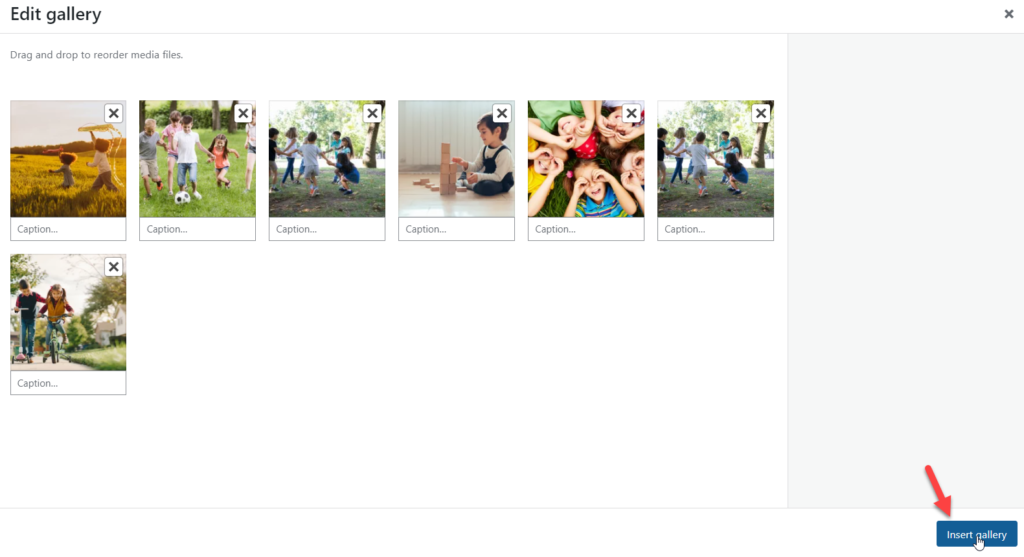
In this step, you can add custom captions to each individual image and reorder them as you may like. Once you have done that, click on the Insert Gallery button.
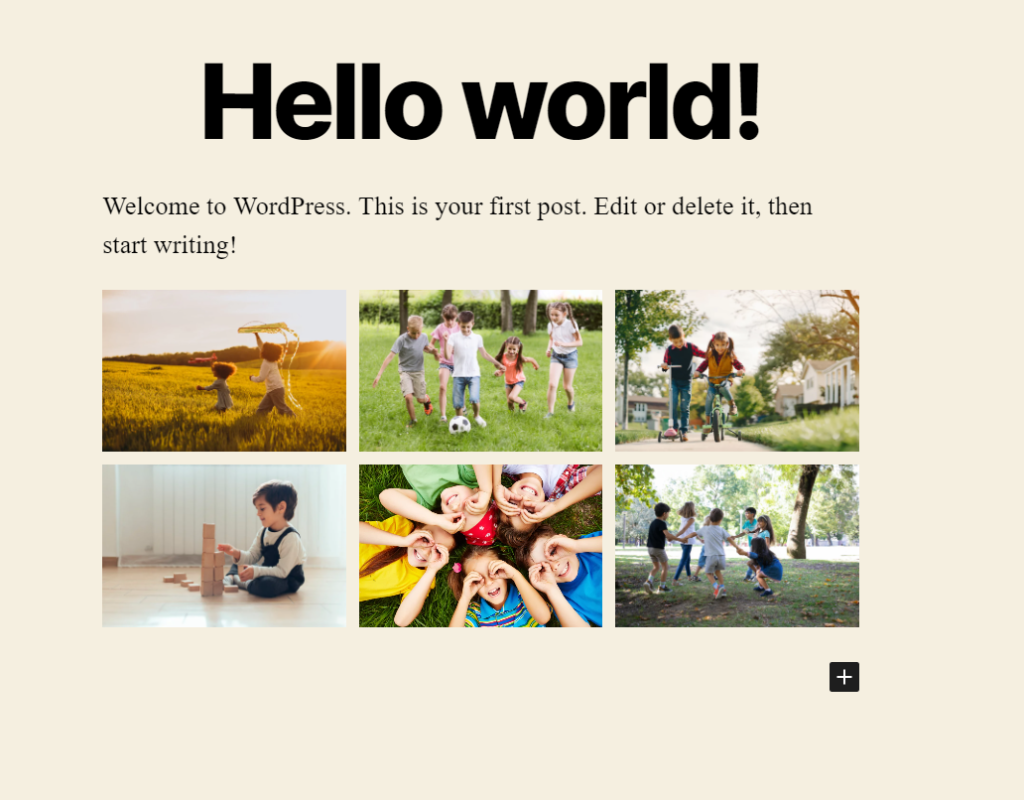
Now, you will see a beautiful gallery added to your WordPress page or post.

That’s it!
You can use this method to create image galleries if you already have images for creating a gallery inside your media library. But what if you don’t want to reuse images from your media library? The next method is for you.
3) Upload Images to the Media Gallery
Our third and final method is creating a gallery by uploading images. You can do it using the Gutenberg image gallery block. Once you have added the block to the editor, choose the first option – upload.

You can choose images from your local storage after you click the Upload button.
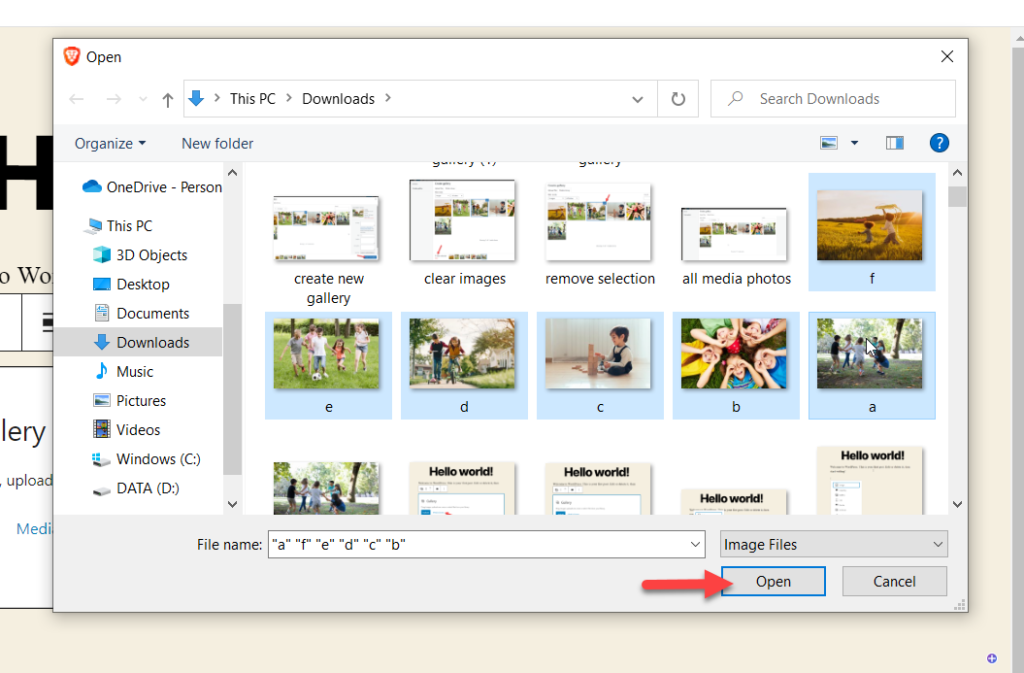
You can select any amount of images to import. It may take a couple of seconds to complete the uploading process (based on the file size). After WordPress uploads all the images to the website, you can see the gallery inside the editor.
That’s it! This is how you can use the upload feature to create an image gallery inside the Gutenberg editor.
So, that was all about creating an image gallery. Next up, it’s time to customize our beautiful image gallery to make it even more beautiful.
Customize Gutenberg Image Gallery Block
Let’s see the available options we can use to customize the Gutenberg image gallery block.
1. Via the Toolbar
After adding the gallery block, you can see its configuration options on top of the blocks if you hover over it.
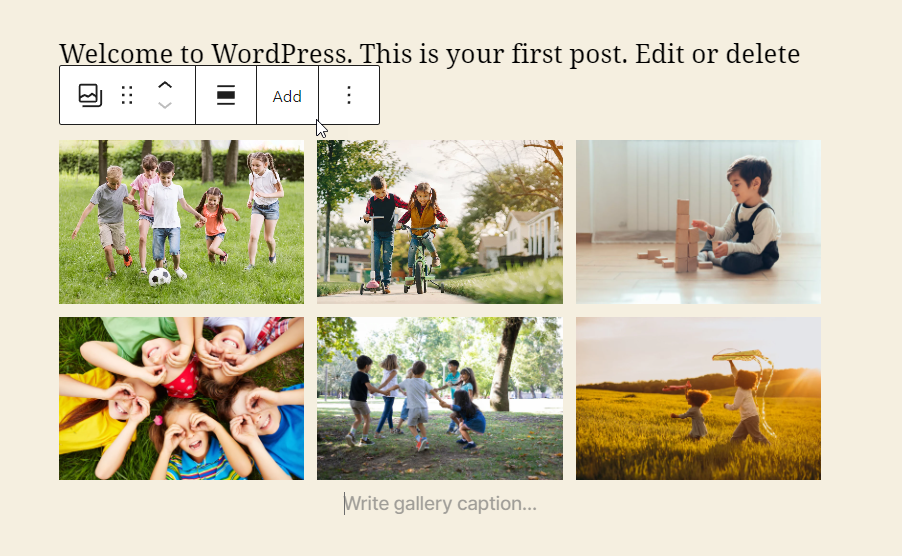
This is the image gallery block toolbar. You can adjust the alignment and position, add new images, and so on via this toolbar.
On the other hand, you can also adjust individual image settings by clicking on an image and revealing the image toolbar.

The individual image configurations you can see are:
- Right/Left Adjustment
- Insert Link
- Crop
- Apply Dualtone Filter
- Replace Image
and so on.
You can also click the three dots on the right for additional customization options.

This is how you can customize the block via the toolbar.
2. Via the Gallery Block Setting Panel
Apart from the toolbar, every block comes with a settings panel. If you check the right-hand side of the editor, you will see it. In this case, the block settings pane is very friendly, and we can make some customizations there.
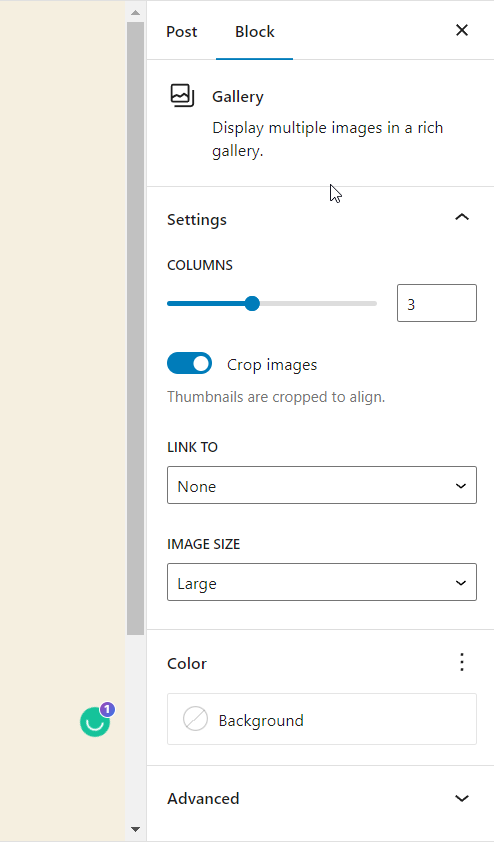
You can see options like:
- Columns
- Cropping
- Link
- Image Size
- Color
and so on.
You can also set up a custom HTML anchor and add CSS classes to the block from the advanced settings.
3. Add Captions to Images
You can add captions to individual images or the whole gallery. To add a caption to your gallery, select the block, and you will see the space for adding a caption below it.
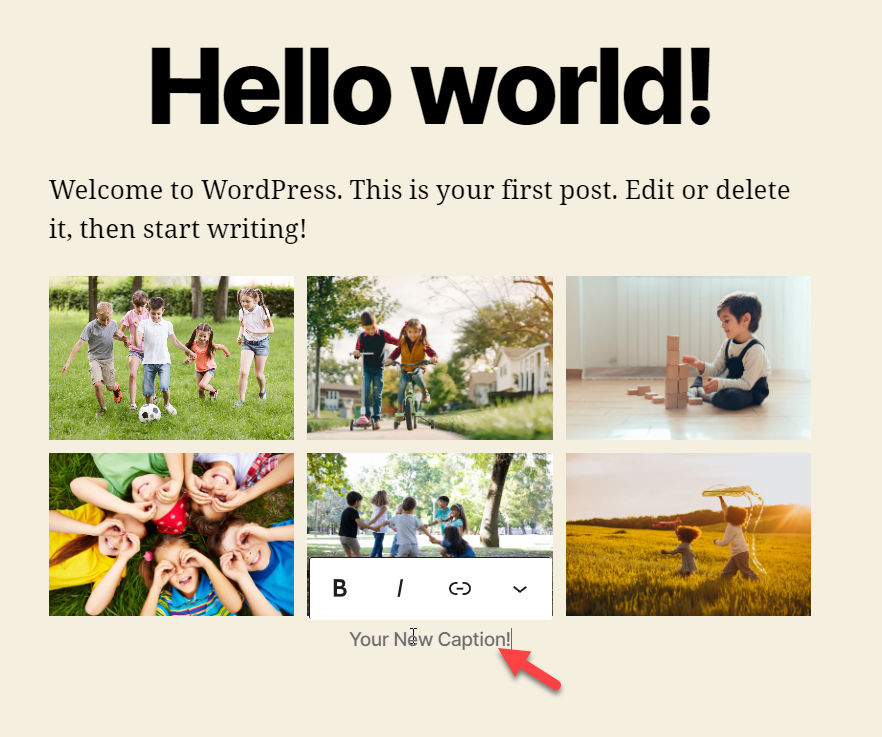
On the other hand, you can add captions to individual images. To do that, select the photos manually, and you will see an option to add the caption.
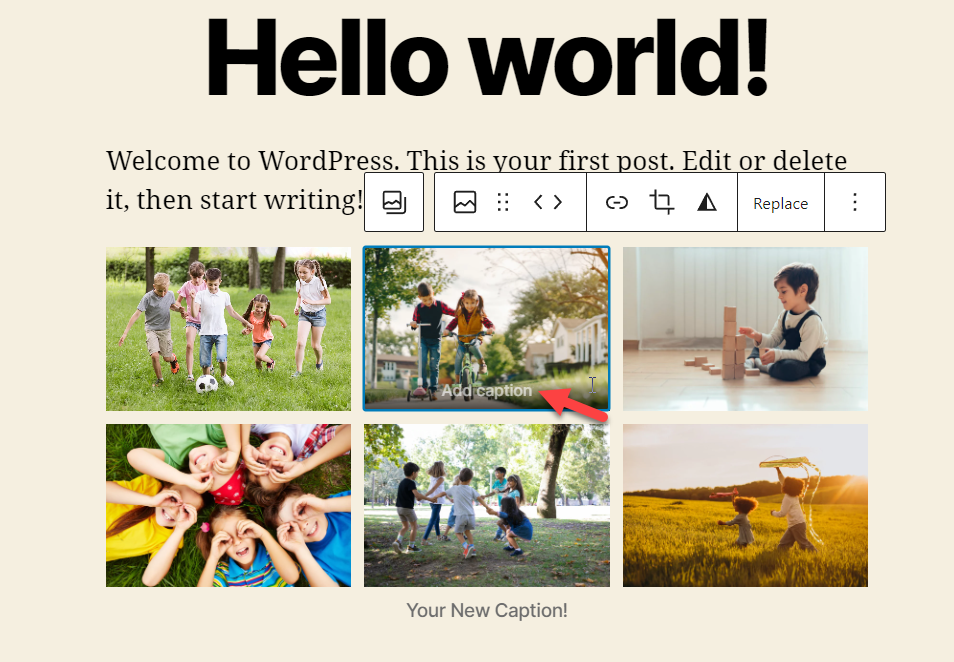
This way, you can add captions to your images.
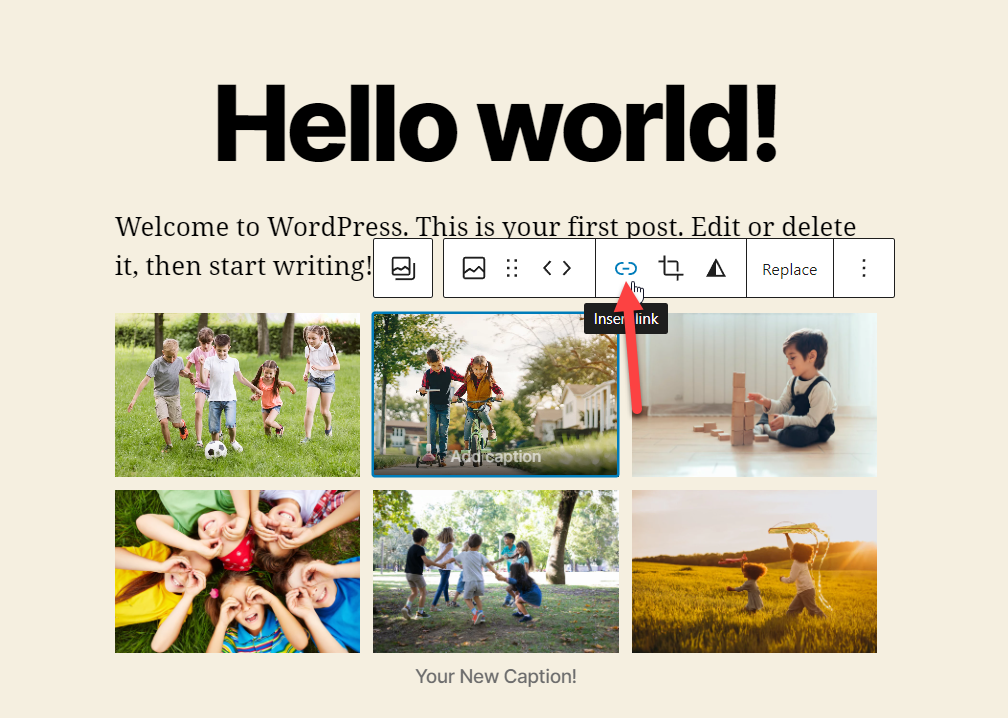
4. Link Gallery to an External URL
Next up, you can link your gallery images to an external URL. Again, this is pretty simple; you can do it right from your Gutenberg image gallery toolbar.
You can add individual links to each image you have inside the gallery. To do this, select any image of your choice and click on the insert link.
Once you have clicked on it, you can add any link you would like:
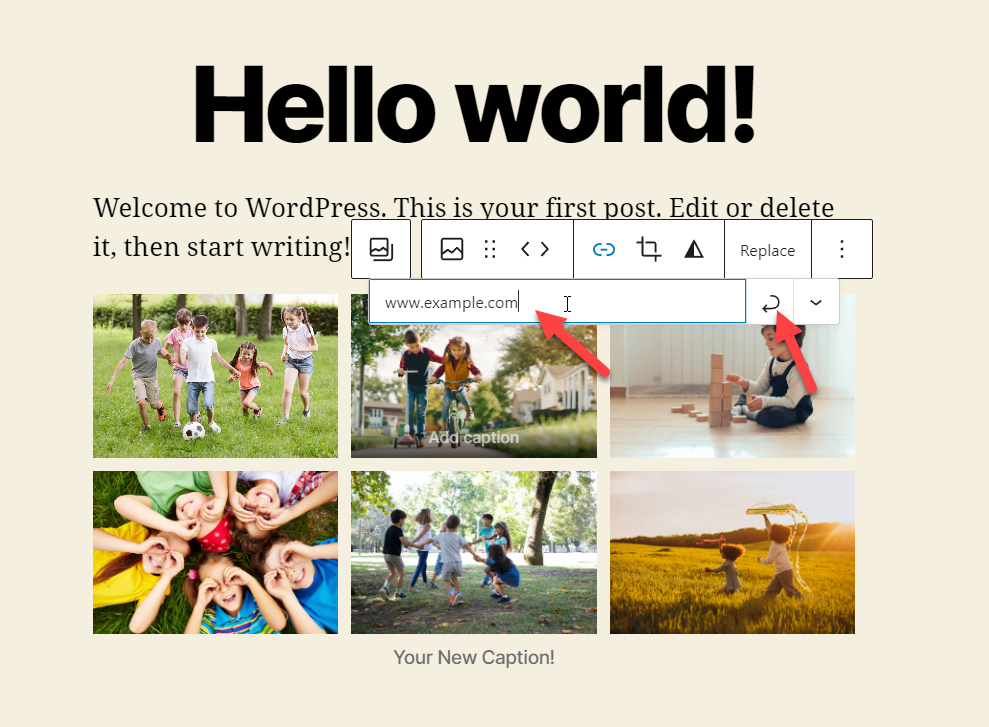
You can do this with every image you have inside the gallery.
Apart from an external URL, you can also link your pictures to the media file or attachment page.
So, these were some of the customization options you get with the Gutenberg image gallery block. But that is not all you can do; there is more to it.
Follow the next section if you would like to convert an image gallery block to individual images, columns, or group. Let’s have a look.
Convert Gutenberg Image Gallery Block
This section will show you how to convert the Gutenberg image gallery block to other valuable blocks.
1. To Individual Images
Hover over an image gallery to reveal the toolbar. In the toolbar, click on the Transform button. Once you have selected the transform option, choose the image block.
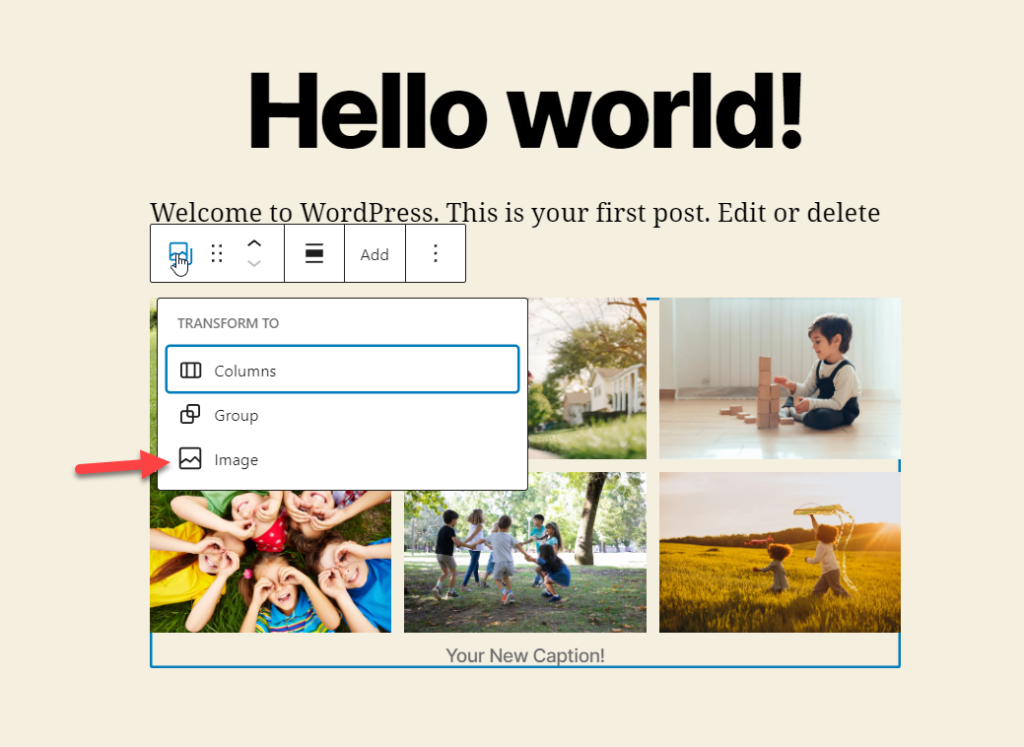
When you do this, Gutenberg will convert the gallery block to individual image blocks.
All the gallery images will be converted to individual images without conflict. Also, you can customize each image according to your preferences.
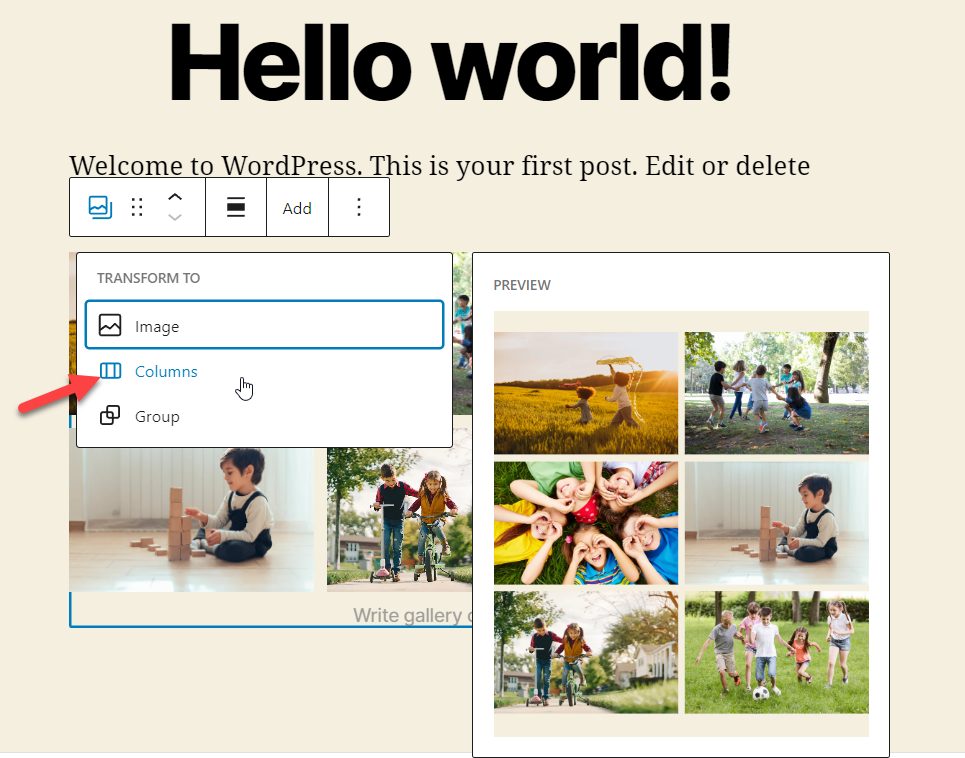
2. To Columns
Next, you can convert the gallery to columns. This time just click on the Columns button, and all your images will be converted to columns.
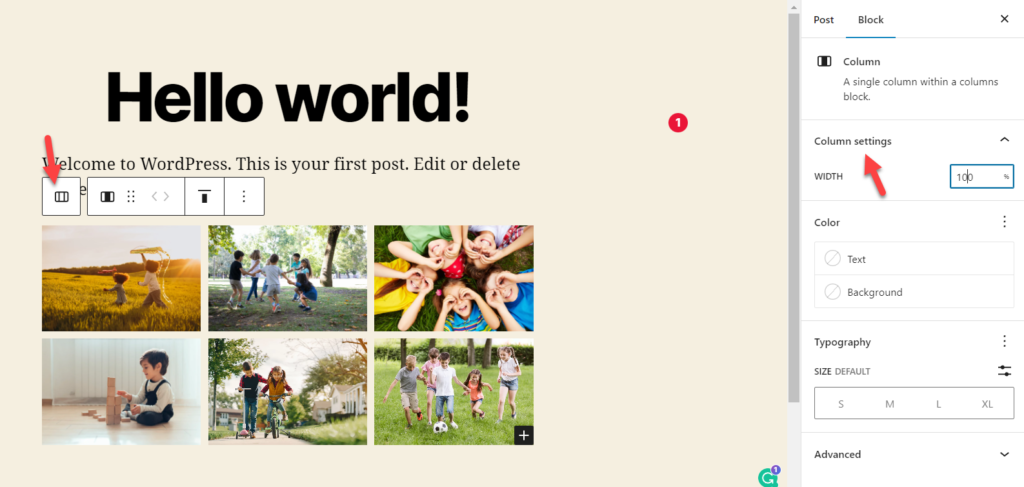
If you need to control the width of some blocks, you could use the column block settings. The settings panel on the right-hand side will show you available options.
Next, let’s see how to convert the galleries to groups.
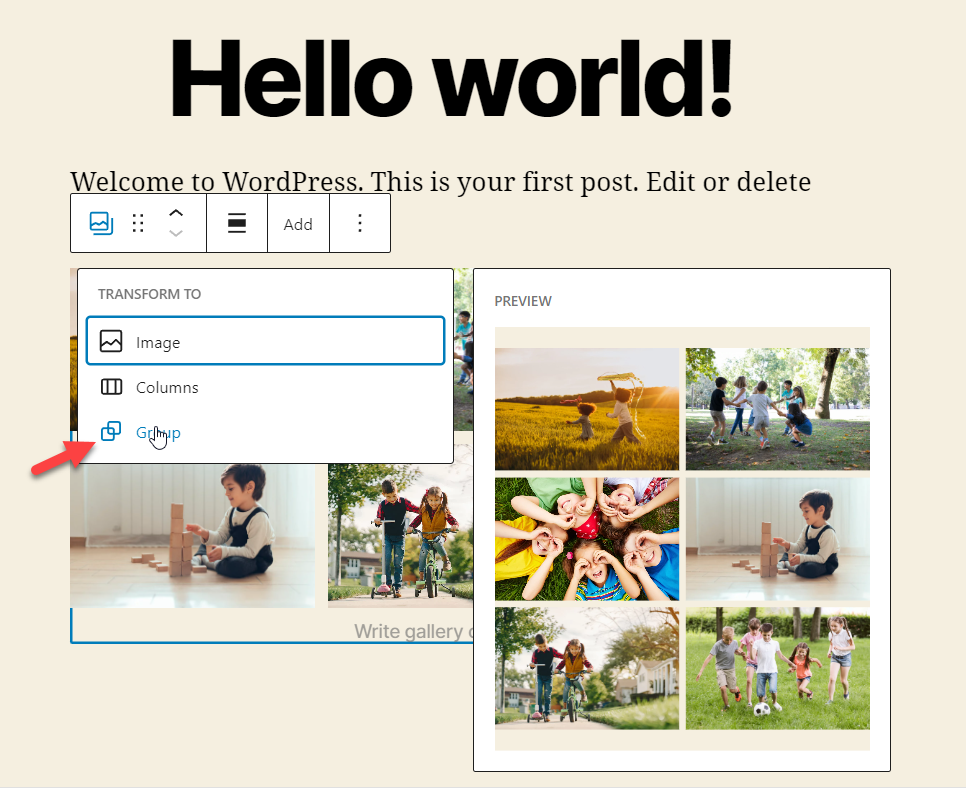
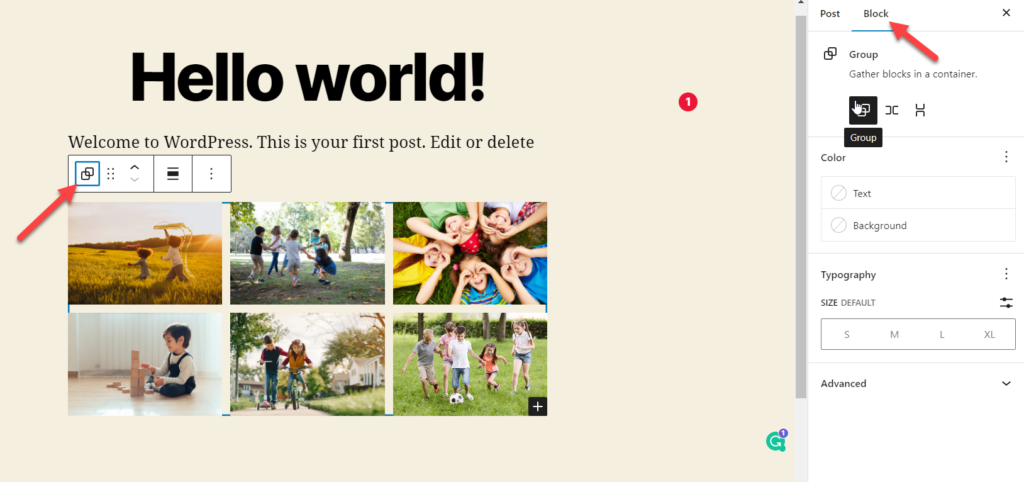
3. To Group
You could use the Gutenberg group block if you need to have multiple blocks inside one container. To add the gallery inside the group block, click on Transform and choose Group block.
Once done, Gutenberg will convert the gallery into a group block. You can also customize the group block from the settings panel on the right-hand side.
That’s it!
NOTE: You can always convert the blocks again and meet your expectations. When you do it, ensure the user experience is not getting affected.
Conclusion: Gutenberg Image Gallery Block
Image galleries can add a lot of value to your WordPress website. For example, if you run a personal blog, you could share your life story; when you handle a WooCommerce store or something similar, you can display the product images as a gallery.
By default, with the Classic Editor, there is no way to set up a gallery. Thankfully, with a powerful editor like Gutenberg, creating galleries has become much simpler.
In this post, we have discussed three methods to create a gallery inside the Gutenberg editor. And they are:
- Drag and Drop Images
- Media Galery
- Uploading Images
After that, we saw how we could customize the image gallery block in Gutenberg. We looked at customizing the image gallery block via:
- The toolbar
- The settings panel.
- Moreover, we also learned how to add captions and external links to images.
Lastly, we looked at converting the image gallery block to another type of blocks. For now, we have can convert the gallery block into:
- individual images
- Columns
- Groups
We hope you have found this article helpful and enjoyed reading it. Please consider sharing this post with your friends and fellow bloggers on social media if you do. Also, for more related posts, you might want to check out our blog.
For instance, here are a few more posts you might be interested in:
